Small Natural-looking Pond in 5 steps

Install a Small Natural-looking Pond
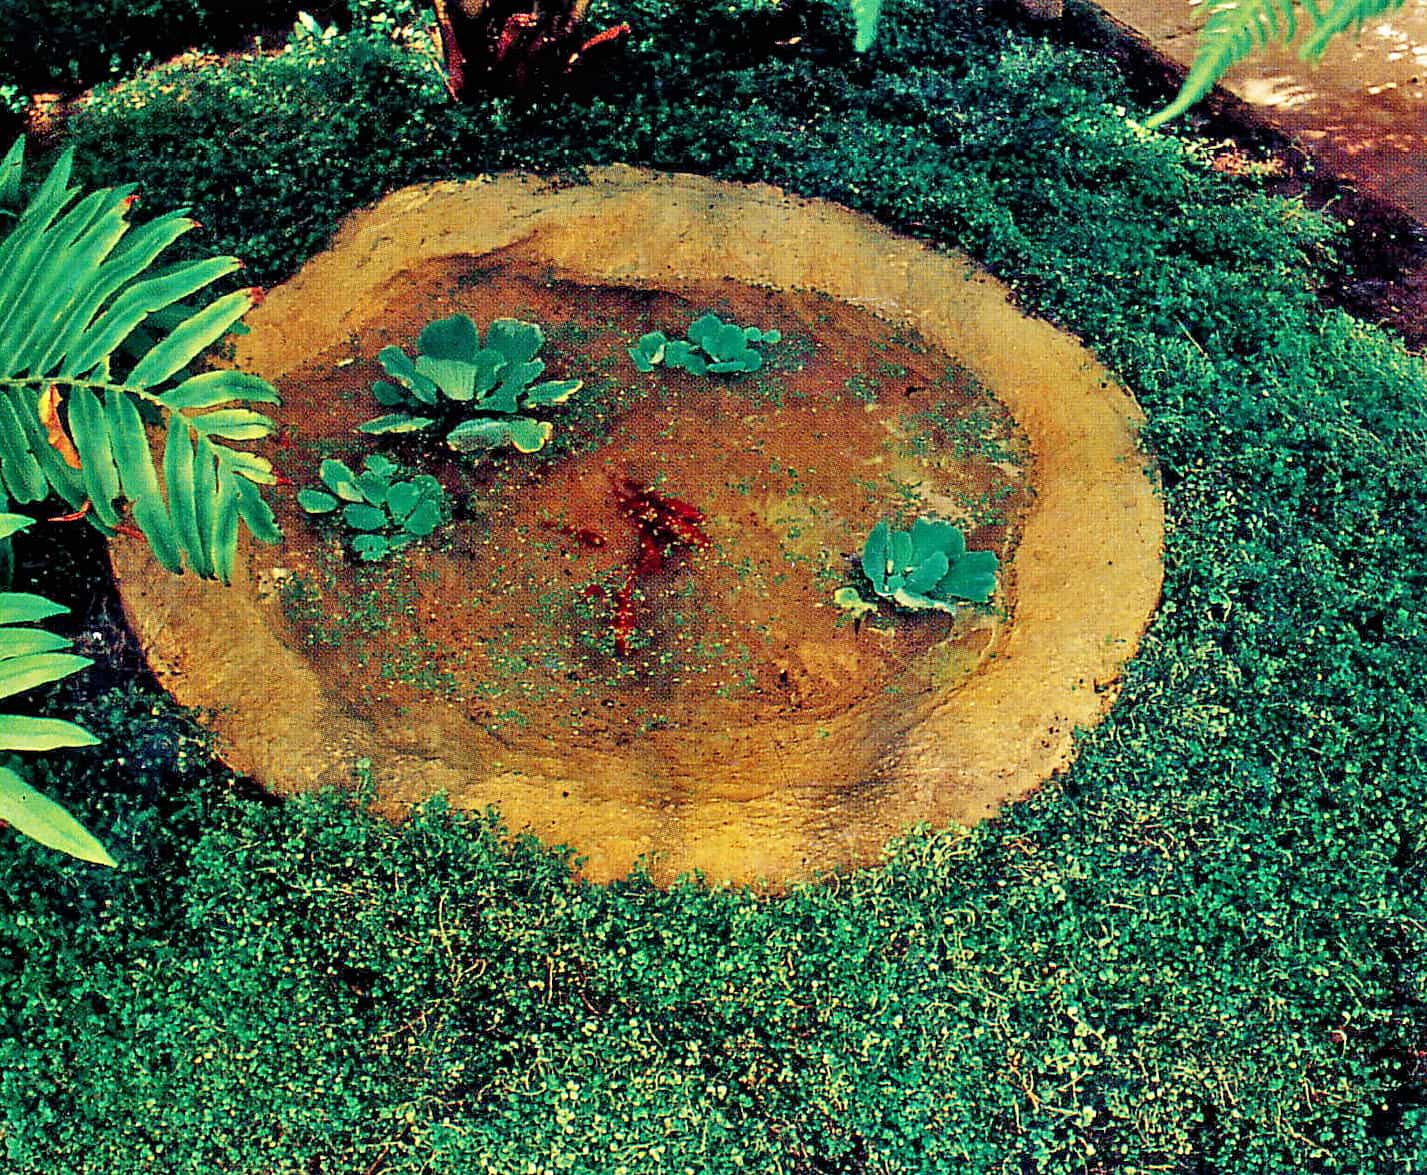
Although many small water features look artificial, it is possible to create a small natural-looking pond on a very small scale. This has the appearance of rock and you can choose any simulated stone product or even a small fiberglass shell. In some places, thermoplastic liners are manufactured to look like simulated rock. Installation of this small natural-looking pond is simple and a small water feature can be completed within hours. The secret is to sink the pond into the ground so that it looks as though it has occurred naturally, and then to plant right up to the rim of the feature.
Materials
For a precast pond with a maximum diameter of 740 mm (2 ft 5 in):
A suitable precast shell
Preparation
Step 1. Ground must be level
It is essential that the ground into which you sink your precast pond is absolutely level. You can rectify slight undulations with soil dug out from the hole, but a pond this small is not suitable for sloping or uneven ground.
Installation

Step 2.
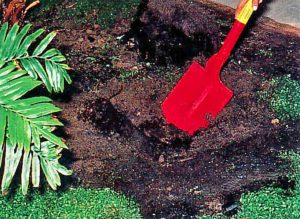
Dig a hole slightly larger than the shell, taking the irregular shape into account Use a spirit level to check that the base of the hole is flat and level.

Step 3.
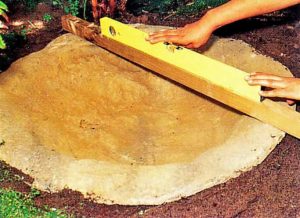
Place the shell into the hole and make sure it is level. If your pond is wider than your spirit level, use a long, straight-edged piece of wood under the spirit level.

Step 4.
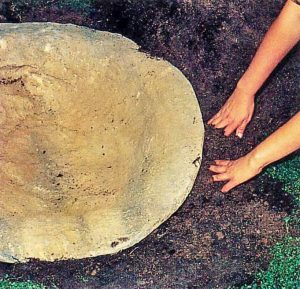
The next step is to back-fill around the pond and to compact the soil, filling all visible gaps so that it sits firmly in place.
Finishing off
Step 5.
A rock-faced pond like the one shown here, does not require an edging. It will look more natural, however, if you plant right up to the edge with ground cover. If you are using a shell which is not as realistic, you can edge the pond with simulated stone slabs or smallish rocks to hide the rim.
Step 6.
Fill the mini-pond with water to enjoy the effect you have created.


2 Comments