Simple Stepping Stones in 14 Steps
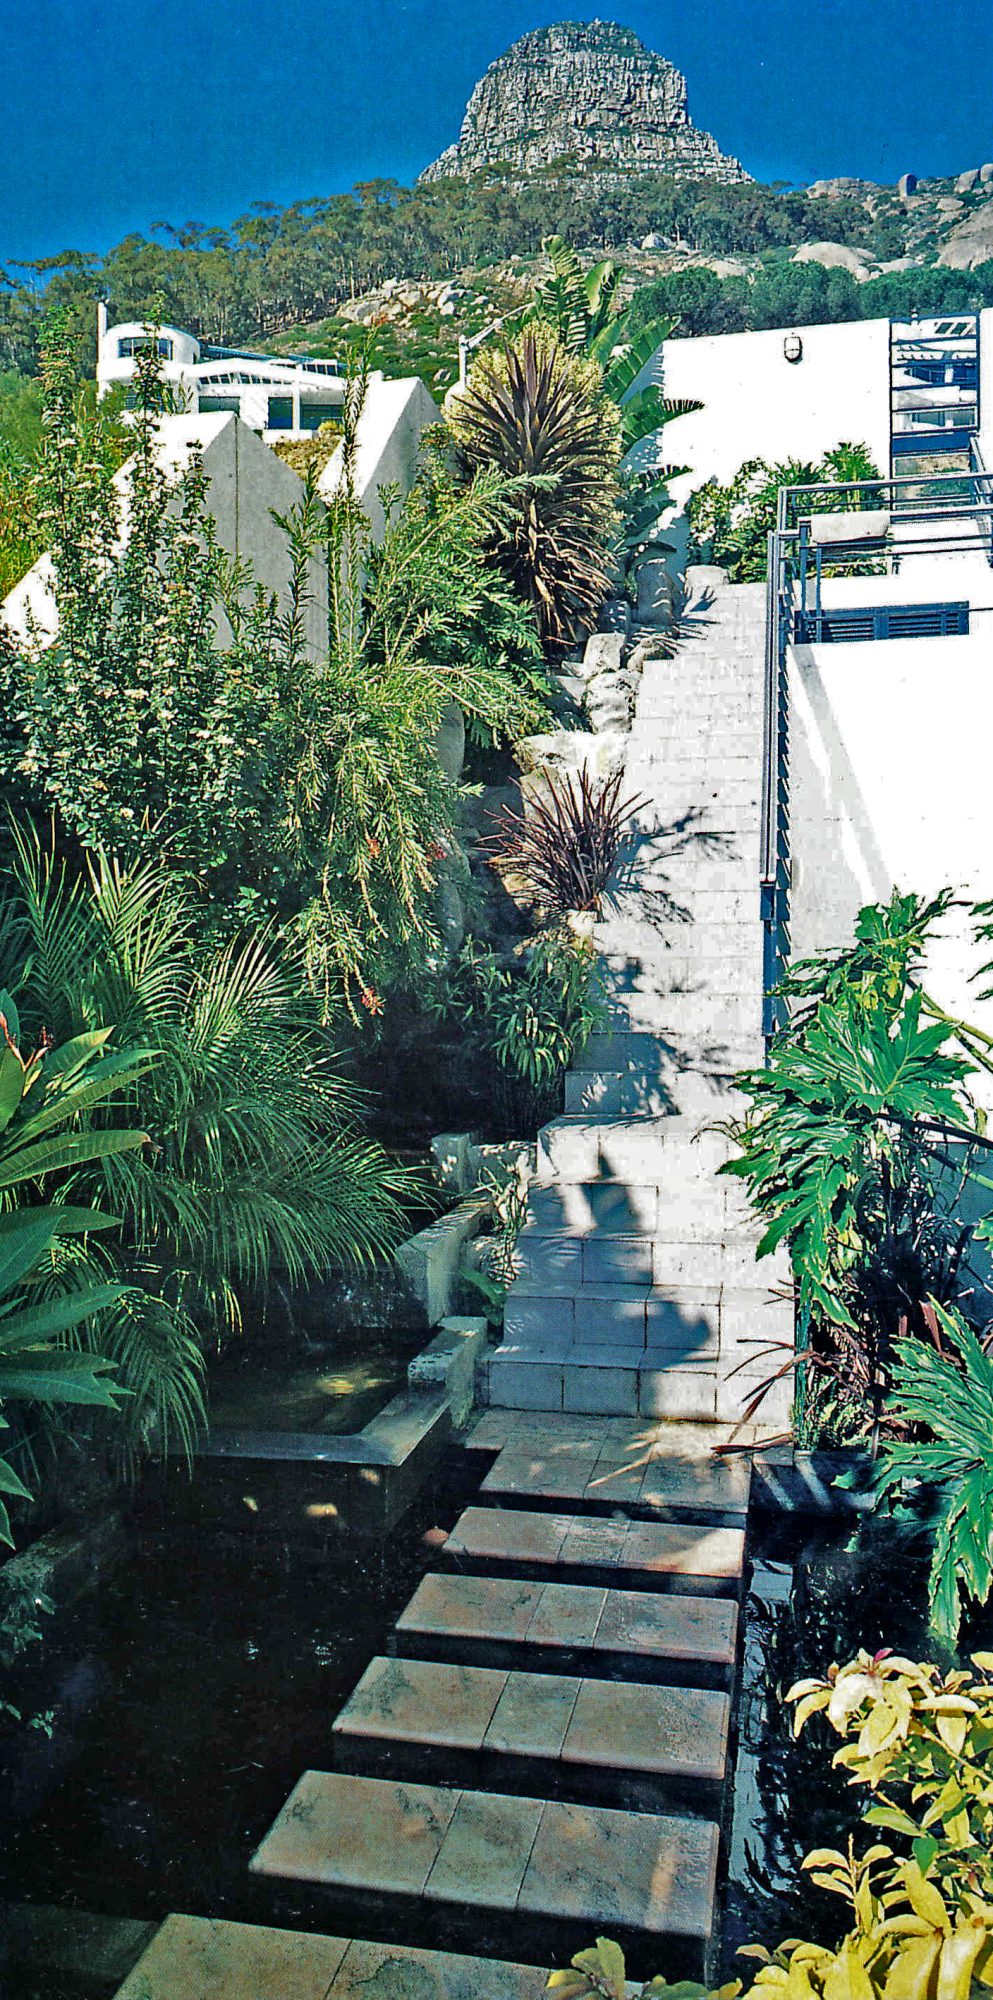
Easy to Build Simple Stepping Stones
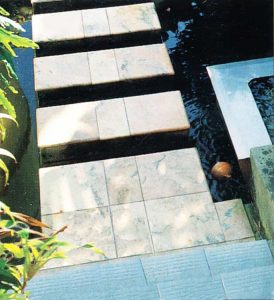
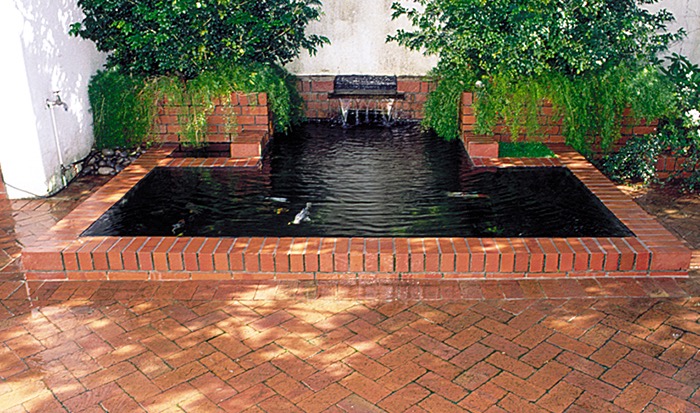
Designed to allow access from the garden to a stairway built alongside the house, these simple stepping stones are topped with non-slip marble tiles. Supporting piers 500 mm (1 ft 8 in) high have been made with bricks and mortar, while the surface matches adjacent paving and is level with it.
For convenience, one stepping stone abuts the stairway, but this is not essential. Although the finish here is essentially formal, the basic step-by-step instructions may be adapted for just about any man-made stepping stones. Materials and DIY instructions for the pool are not included in this project.
Materials
This project allows for construction of five rectangular stepping stones approximately 800 mm x 320 mm (2 ft 8 in x 1 ft) equally spaced across a 2.24 m (7 ft 4 in) wide pool.
288-315 bricks
12½ x 320 mm x 320 mm (1 ft x 1 ft) tiles
125 kg (275 lb) cement
390 kg (0.3 cu yd) sand
waterproofing agent (optional)
15 liters (3¼ gal) rubberized bitumen sealer
Preparation
Step 1. Foundation
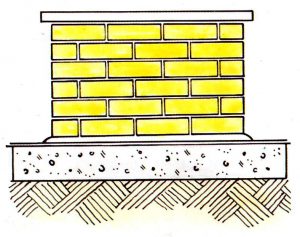
You will need a solid foundation for the stepping stones. For this reason it is best to build your pond with bricks and mortar or to construct a concrete shell as described in previous projects. lt is possible to build stepping stones in a liner pond (see figure 2), but there is a real danger that you will puncture the plastic during construction.
Step 2. Allow to Set
Allow the concrete shell or foundation to set before you start laying the bricks.
Step 3. Drain Water
If you are building stepping stones in an existing pond, drain the water first and scrub the inner shell to get rid of algae and other plant growth.
Brickwork
Step 4. Measure & Mark
Measure out the position of the stepping stones and mark these on the concrete with chalk or loose bricks.
Step 5. Mix Cement & Sand
Mix cement and sand in the ratio 1:3, using two bags of cement. For each pier measuring approximately 800 mm x 320 mm (2 ft 8 in x 1¼ in) you will need 48 to 63 bricks. If fewer bricks are used you will need to fill the central cavity with hardcore or concrete before the tops can be tiled.
Step 6. Lay Bricks
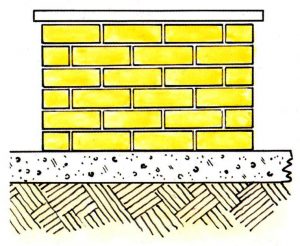
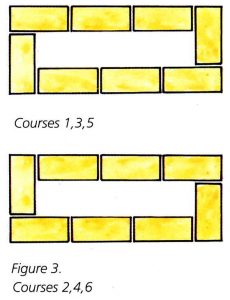
Lay the bricks as shown in figure 3 with additional bricks in between them if you wish. Make absolutely certain that the corners are at 90°, using a builder’s square to check this frequently. Every brick course must bond with the next, so allow the bricks in each successive course to overlap those below by half (see figure 1 above.).
Step 7. Build Up
For 500 mm (1 ft 8 in) high piers, you will need to build up six courses. Corner blocks and a builder’s line will help ensure that each course is even. If the upper level of the stepping stones is not even, you will find it difficult to walk across them, so also use a gauge rod to maintain equal mortar joints.
Plastering or rendering
Step 8. Allow to Set
Once you have completed the brickwork, allow the mortar to set for at least 24 hours. Your plaster or render should be mixed in exactly the same ratio as the mortar used previously. You can add a non-toxic plasticizer to make the mixture more cohesive, but avoid lime especially if you plan to stock the pool with fish. It is a good idea to add a little waterproofing agent.
Step 9. Lay Render
It is best to use a screed board to hold the mixture while you work. Lay the render on with a plasterer’s trowel, applying pressure so that it sticks to the surface. When you have roughly plastered all six of the piers, go back to the first one and smooth it with a plasterer’s float. Use a corner trowel for neat corners.
Tiling
Step 10. Tiling
If you plan to use an adhesive to set the tiles in place, you must wait for a few days until the render has set. Alternatively, you can use a little of the plaster/render mix, in which case you will not have to wait before putting the tiles on top of the piers, but work carefully or your handiwork could be ruined instead of the
usual tile adhesive, simply spread a little of your mixed render on the back of the tiles, using a notched trowel to form ridges to a aid adhesion. Push them into place and knock gently with a rubber mallet to level them.
Step 11. Tile Cutting
If you are using the size tile specified, you will need 2½ tiles for the top of each pier, which means some tile cutting.
The simplest way to do this is with a tile-cutting machine. First mark the cutting line with a pencil and then score the surface of the tile. Bring the handle of the machine down firmly to cut the tile. If you are using reconstituted stone or quarry tiles, you will have to use an angle grinder.
Step 12. Grouting
If you used a tile adhesive to set the tiles, allow this to dry before grouting the joints. Alternatively, rub a little of the plaster mix into the gaps between the tiles.
Finishing
Step 13. Help to Cure
Do not allow the plaster/render coat to dry out too quickly. Damp it down with a fine spray of water from the garden hose once or twice a day, for a few days, to help it cure thoroughly.
Step 14. Seal
Seal the supporting piers of the stepping stones with a rubberized bitumen sealer or suitable polyurethane when you seal the pond shell.




2 Comments