Make This Simple Pebble Water Fountain In Only 10 Steps
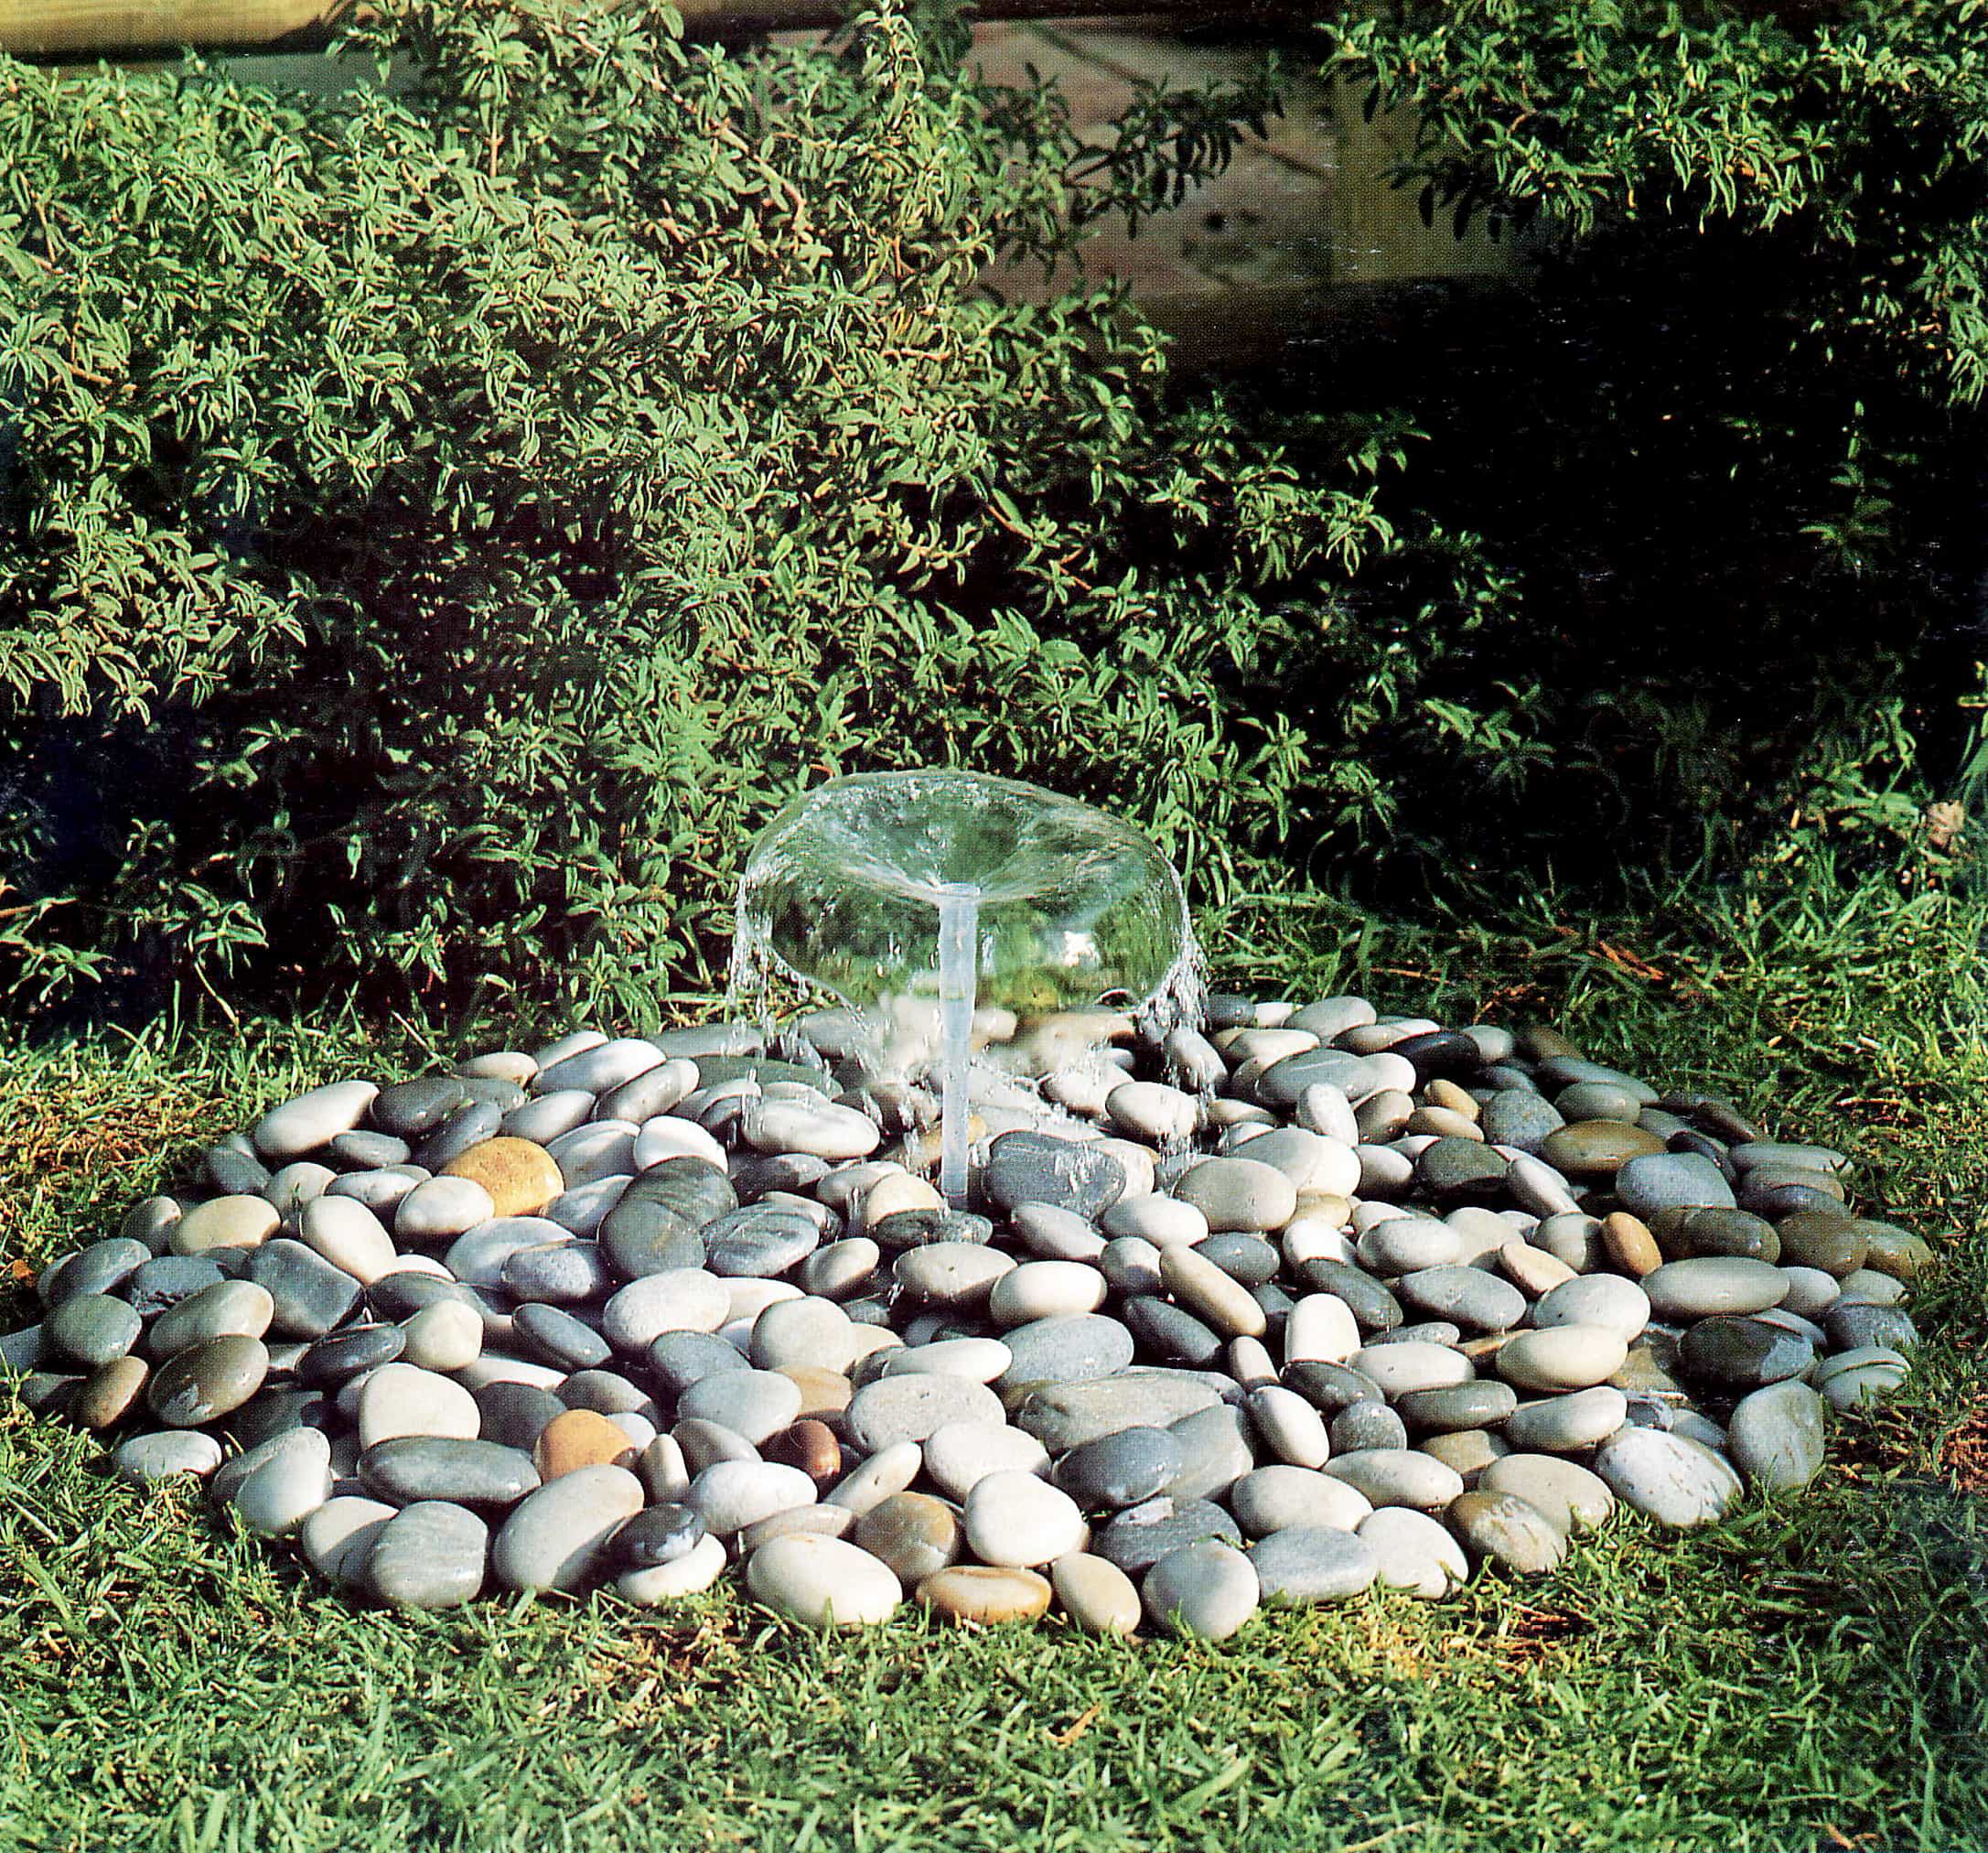
This is a Simple Pebble Water Fountain
A Simple Pebble water fountain does make a simple yet effective garden display. They do not take up much space, so may be sited in the smallest area; alternatively, they may be included in a much larger landscaping scheme. You can site a simple water pebble fountain in lawn, although it will be easier to maintain if located in a garden bed. Alternatively, sink the reservoir prior to paving a patio and incorporate it as a feature.
Materials
a container approximately 560 mm (1 ft 10 in) in diameter, 310 mm (1 ft) high
plastic pot, 200 mm (8 in) in diameter, 180 mm (7 in) high
1 x submersible pump, with 1.4 m (4 ft 6 in) water head
1 x 350 mm x 12 mm (1 ft 2in x ½ in) semi-rigid tubing
fountain heads (optional)
outdoor cable and conduit (optional)
river stones
rounded pebbles
Preparation
Step 1 – Install the Reservoir
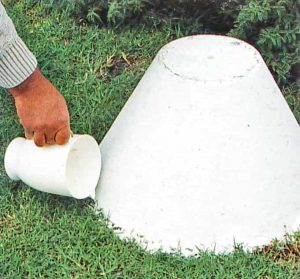
For this Simple Pebble water fountain you will need to build or install a reservoir to hold water below ground level. You can construct this with bricks and mortar and then render and seal it with bitumen or polyurethane, or simply sink a watertight container in the ground. A bowl-shaped planter made from fiber cement was used here, so the drain hole in the center of the base had to be plugged with epoxy putty.
Step 2 – Mark Out Area
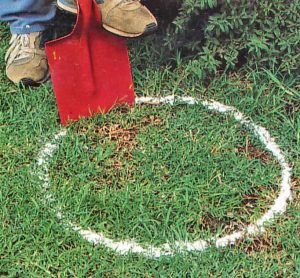
Decide where the water feature is to be built and then either peg or mark out the area with flour or dry chalk powder.
Step 3 – Remove Sods
If you are working in a garden lawn area, remove sods of turf to use elsewhere and dig a hole the same shape as your chosen container.
Installation
Step 4 – Use a Spirit Level
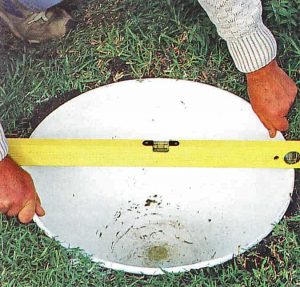
Lower the container into the hole and use a spirit level to check that that the lip is level. If it is not, remove the container and rectify.
Step 5 – Place Pump and Covering Pot
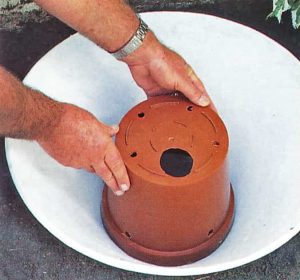
Place the pump in the container and fix the semi-rigid tubing onto the outlet. Cut a hole in the center of the plastic pot and position it upside-down over the pump. This will enable you to contain a greater volume of water in the reservoir than if stones were packed around the pump itself. It is also a good idea to drill three or four holes in the sides (see picture) to allow the water to flow more easily between the pot and the reservoir.
Step 6 – Pack With River Stones
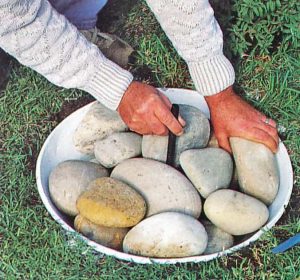
Now pack river stones around the plastic pot to hide it and create a surface on which the pebbles can sit. Trim the tubing with a sharp knife to the required height. Alternatively, you could set a grid or piece of water-resistant board (fiber-cement, for instance) over the top of the container with a hole in the center for the tubing, making allowance for water to run back into the reservoir below.
Do you have access to pebbles for this Simple Pebble water fountain?
If not then check these and other options.
[ninja_tables id=”1966″]
Step 7 – Pack Smaller Pebbles
Finally, pack the smaller pebbles over the river stones, covering a wider circumference than that of the bowl.
Connecting the Fountain
Step 8 – Bury and Connect Cable
You will, of course, need to plug the submersible pump into a power socket if the feature is in the garden, some distance from the house, you will have to bury cable underground.
Step 9 – Pump Like a Geyser
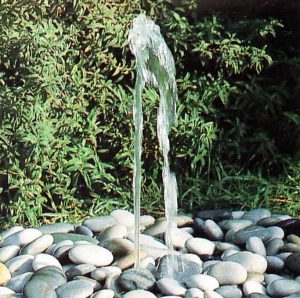
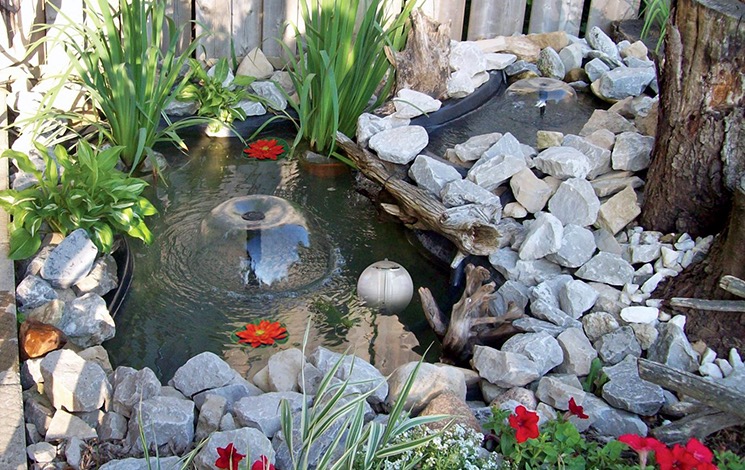
When the pump is operated with a fountain head fitting, a jet of water gushes into the air like a geyser. See the pic above.
Step 10 – Slot On A Fountain Head
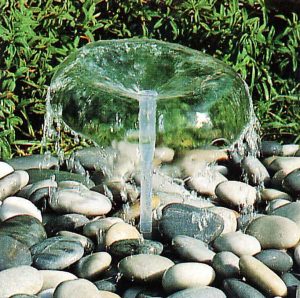
If you wish, you may slot a different fountain head onto the tubing in order to change the effect altogether. The dome- or mushroom-nozzle is always a favorite for a simple pebble water fountain.




4 Comments