Multiple Cascade Pond Built In 12 Steps
Build a Multiple Cascade Pond
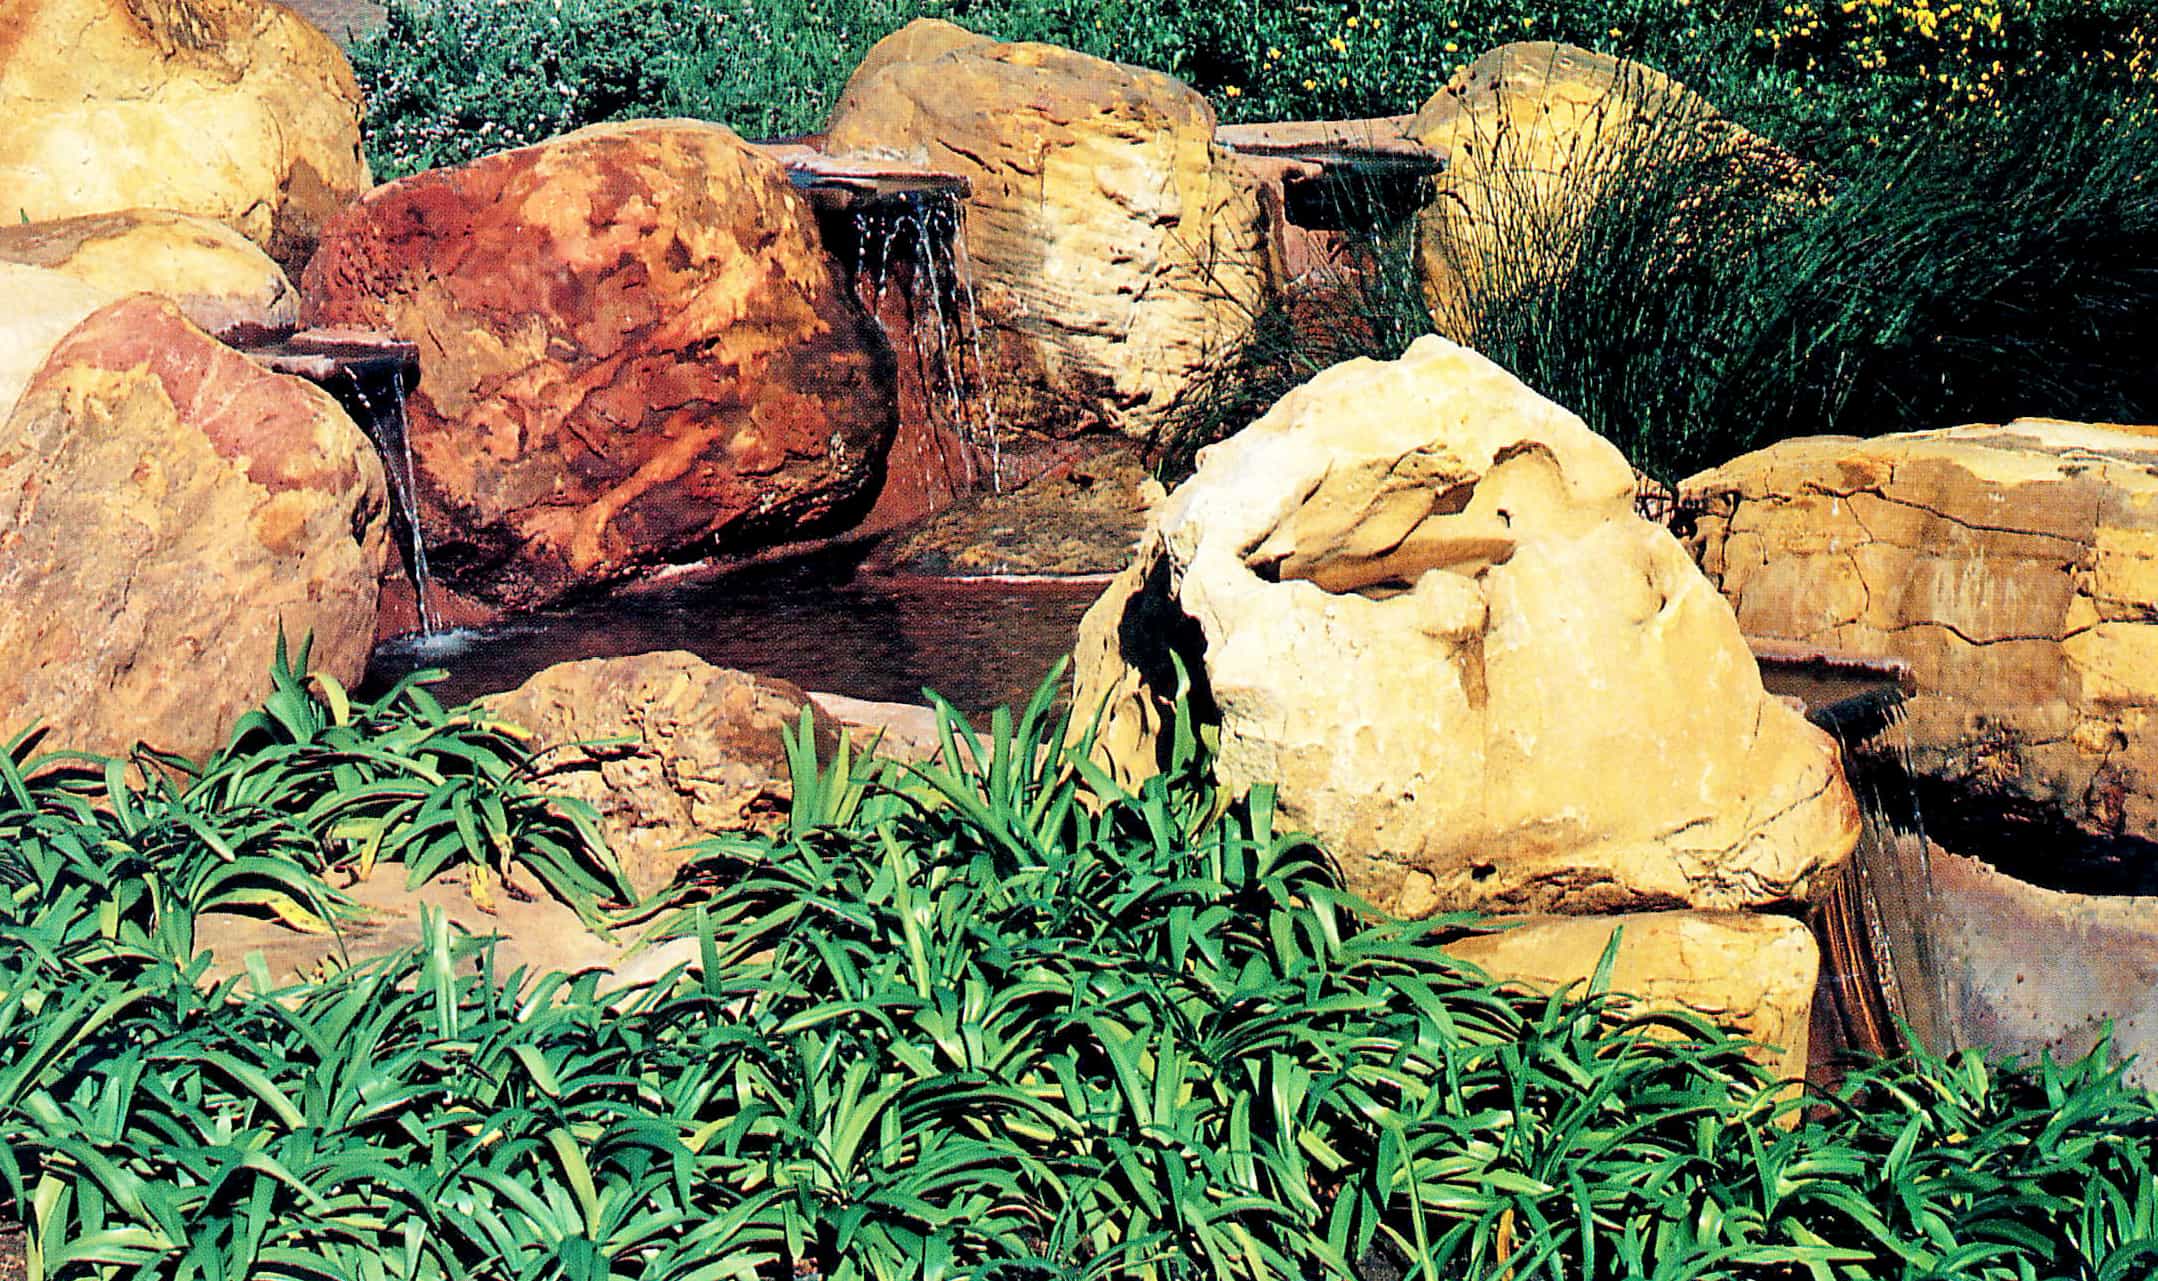
Multiple Cascade pond is a superb pond for those who are not afraid of a challenge. Instead of the usual pond with rockeries and a waterfall supplied with recirculating water, this multiple cascade pond is made up of eight tiered pools of varying sizes, five of which incorporate slate spillways. It was constructed with huge boulders and rocks found on the site, and is operated from a power point in a concealed waterproof box behind one of the rocks.
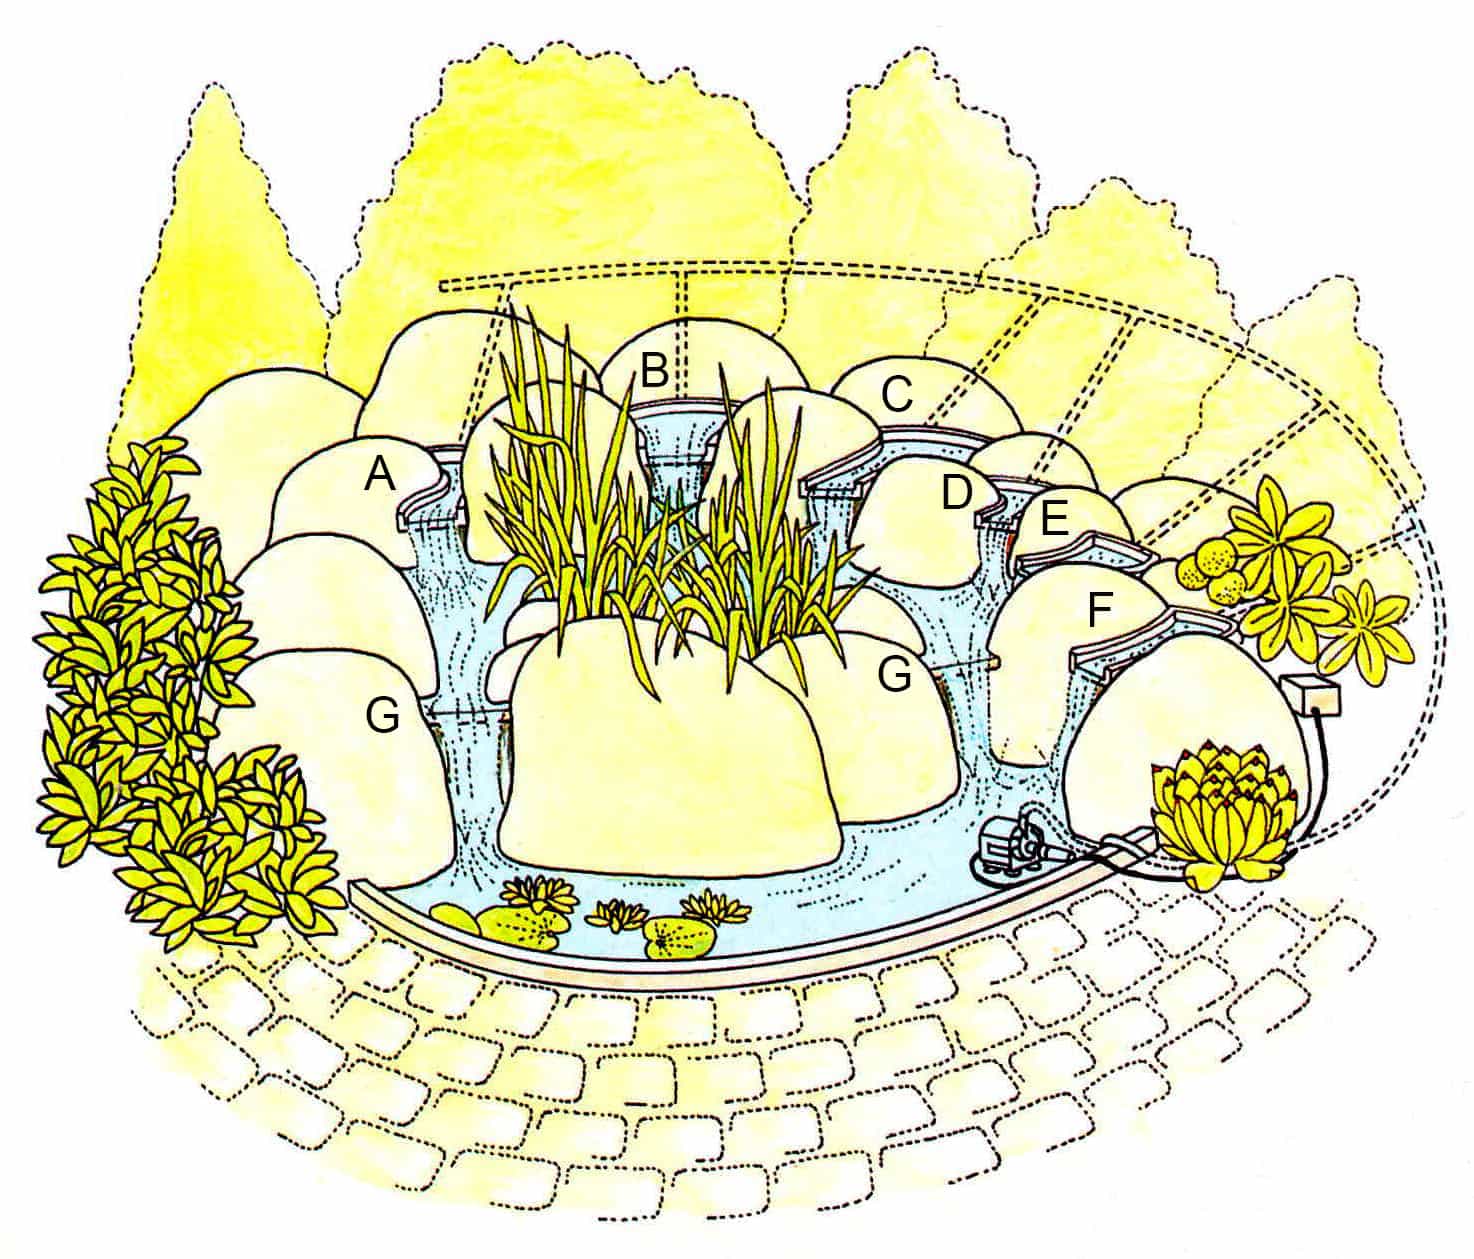
The pools, all of which are made from hand packed concrete, are irregular in size, with the largest in front and smallest on the upper tier. The five upper ponds are all fed from the pump which is positioned in a corner of the biggest pool. The basic design may be used on any sloping site, although it will have to be adapted, depending on the natural materials available. The actual size of the spillways is not important, although they should be in proportion to the feature as a whole, and must overlap the water below.
Materials
This multiple cascade pond feature covers approximately 64 m² (76 sq yd), and is 2.5-3 m (8-10 ft) high with an island in the center.
• Boulders and rocks
• 3 750 kg (8 267 lb) cement
• 5.2 m³(6.8 cu yd) sand
• 5 m³ (6.5 cu yd) stone
• Waterproofing additive (depending on brand used)
• 40 liters (8¾ gal) rubberized bitumen sealer (optional)
• Reinforcing mesh
(a) 1 x 700mm x 500mm x 30mm (2 ft 4 in x 1 ft 8 in x 1¼ in) cut slate or similar material
(b) 1 x 600 mm x 520 mm x 30 mm (2 ft x 1 ft 8 in x 1¼ in) cut slate or similar material
(c) 1 x 600 mm x 500 mm x 30 mm (2 ft x 1 ft 8 in x 1¼ in) cut slate or similar material
(d) 1 x 600 mm x 320mm x 30mm (2 ft x 1 ft x 1¼ in) cut slate or similar material
(e) 1 x 600 mm x 300 mm x 30 mm (2 ft x 1 ft x 1¼ in) cut slate or similar material
(f) 1 x 540mm x 400 mm x 30mm (1 ft 9 in x 1 ft 4 in x l¼ in) cut slate or similar material
(g) 1 x 400 mm x 300 mm x 30 mm (1 ft 4 in x 1 ft x 1¼ in) cut slate or similar material
• 1 x submersible pump
• 30 m x 20 mm (33 yd x ¾ in) flexible pipe
• 4 x T-pieces
• silicone sealer
• waterproof electrical box
• outdoor cable and conduit
Stones and flagstones
Portland cement
Water proofing additive
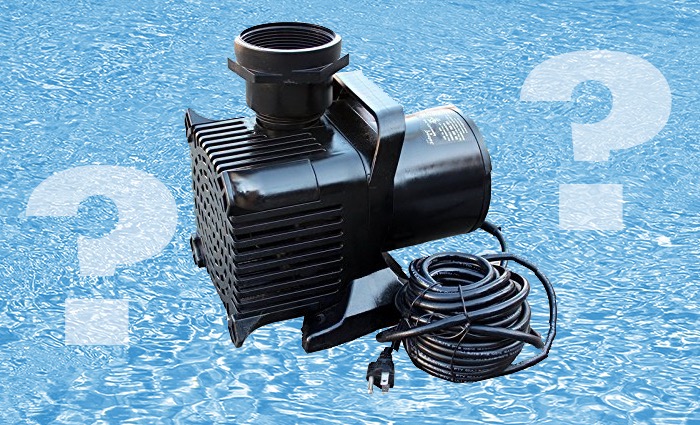
Submersible pump
Site Preparation
Step 1 – Construct three levels
The site must be terraced and all the large rocks and boulders set in position. This multiple cascade pond is constructed on three levels, and some of the earth will have to be shifted. If the boulders occur naturally, you may be able to create a water feature around them; you may even need some mechanical help to position large rocks.
Step 2 – Dig out the eight pools
Once you have the basic layout in place, dig out the eight pools to the required depth. The largest, which is located at the base of the feature, is also the deepest (about 500 mm or 1 ft 8 in). The small upper pools range from 200 – 300 mm (8 in – 1 ft), while the two central pools are approximately 300 mm (1 ft) deep.
Pipework
Step 3 – Pipework
The next step is to position the pipework which will feed the cascades. The pump will lie in the bottom pond while the pipe runs up from there, leading off from a T-piece to each of the upper pools (see illustration above).
You need to choose the correct size pipework for your pump and volume required for your multiple cascade pond:
[ninja_tables id=”2091″]
Step 4 – Set-up Pipes
You will need to lead pipework into the five top pools from below. Allow the pipework to protrude by about 150 mm (6 in) in each case. Once the pools have been concreted and rendered, these points should not leak. If they do, use silicone to seal around them later.
Concrete
Step 5 – Line with reinforcing mesh
Line each of the eight excavations with reinforcing mesh as described in “Building Basics”, and then mix the concrete in the usual 1:2:2 ratio with waterproofing additive. For a water feature this size, you will need more than 68 pockets of cement, so it may be worth considering having it delivered ready-mixed. Otherwise think about hiring a concrete mixer.
Step 6 – Spread the concrete mix over and through the mesh
Smooth the concrete mix into the sides of the pools in exactly the same way as described for the “Informal DIY Koi Pond” project, covering the edges of the rocks as well as the excavated soil. The walls should all be about 100 mm (4 in) thick and it is vital that they are completely watertight, or the feature will leak. Also remember to ensure that all outer edges of individual pools are level. Although you will need to use a spirit level throughout the construction process, you will find a water level is also invaluable, especially as you are working on three different levels.
Plaster or render
[amazon box=”B00GP8ACX6,B000BPEOQ0,B000GF49HO” grid=”3″]
Step 7 – Render the concrete
It will take about 48 hours for the concrete to set, after which you can render it. Add waterproofing additive to the 1:3 cement to sand mix to ensure the shells will be impermeable. Apply the render with a round trowel to make the job easier.
Step 8 – Cement the slate spillways in place
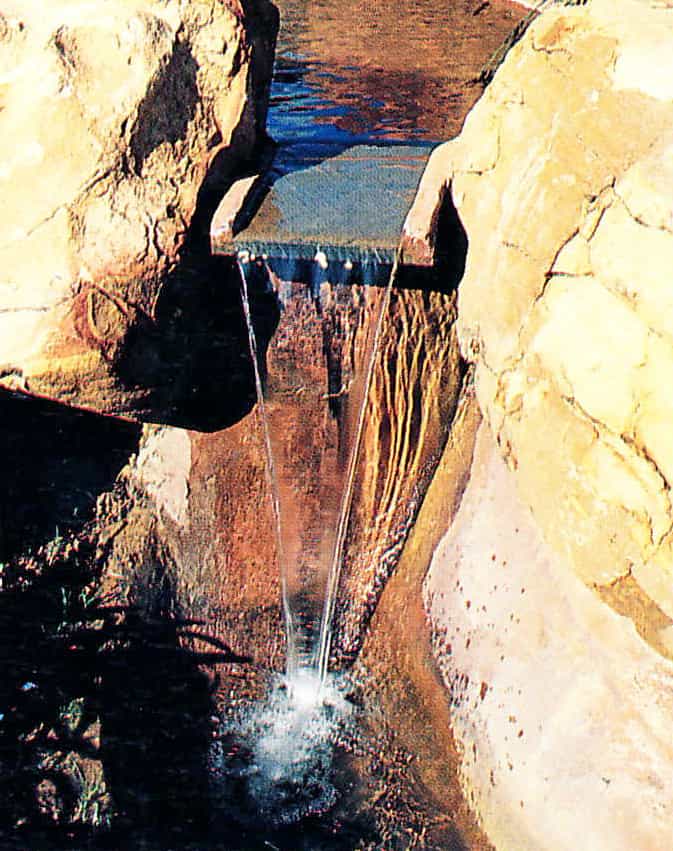
Also cement the slate spillways in place, rounding off the edges to neaten them. Make certain they overlap the structure below to ensure that the water will spill into the pool and not onto the rocks.
[amazon box=”B07PH2GTLJ” template=”horizontal”]
Sealing & Finishing off
Step 9 – Paint
Once the render has set, you can paint the interior surfaces with bitumen or polyurethane if you wish.
Step 10 – Connect the Pump
Attach the open end of the piping to the pump and position it in a corner of the lowest pond. Since a large, fairly powerful submersible pump will be needed for a feature of this size, you may need to camouflage it with loose rocks.
[ninja_tables id=”2084″]
Step 11 – Waterproof power box
The waterproof power box may be concealed in the top section of the rockery and underground conduiting run to the house. The pump cable can then be led inconspicuously over or around the rocks and plugged in.
Step 12 – Add Plants and fill with water
Finally, add the plants of your choice, fill the pools, and switch on the pump and watch your multiple cascade pond come to life.




One Comment