Install A Preformed Pond in 11 Steps
How to Install a Preformed Pond
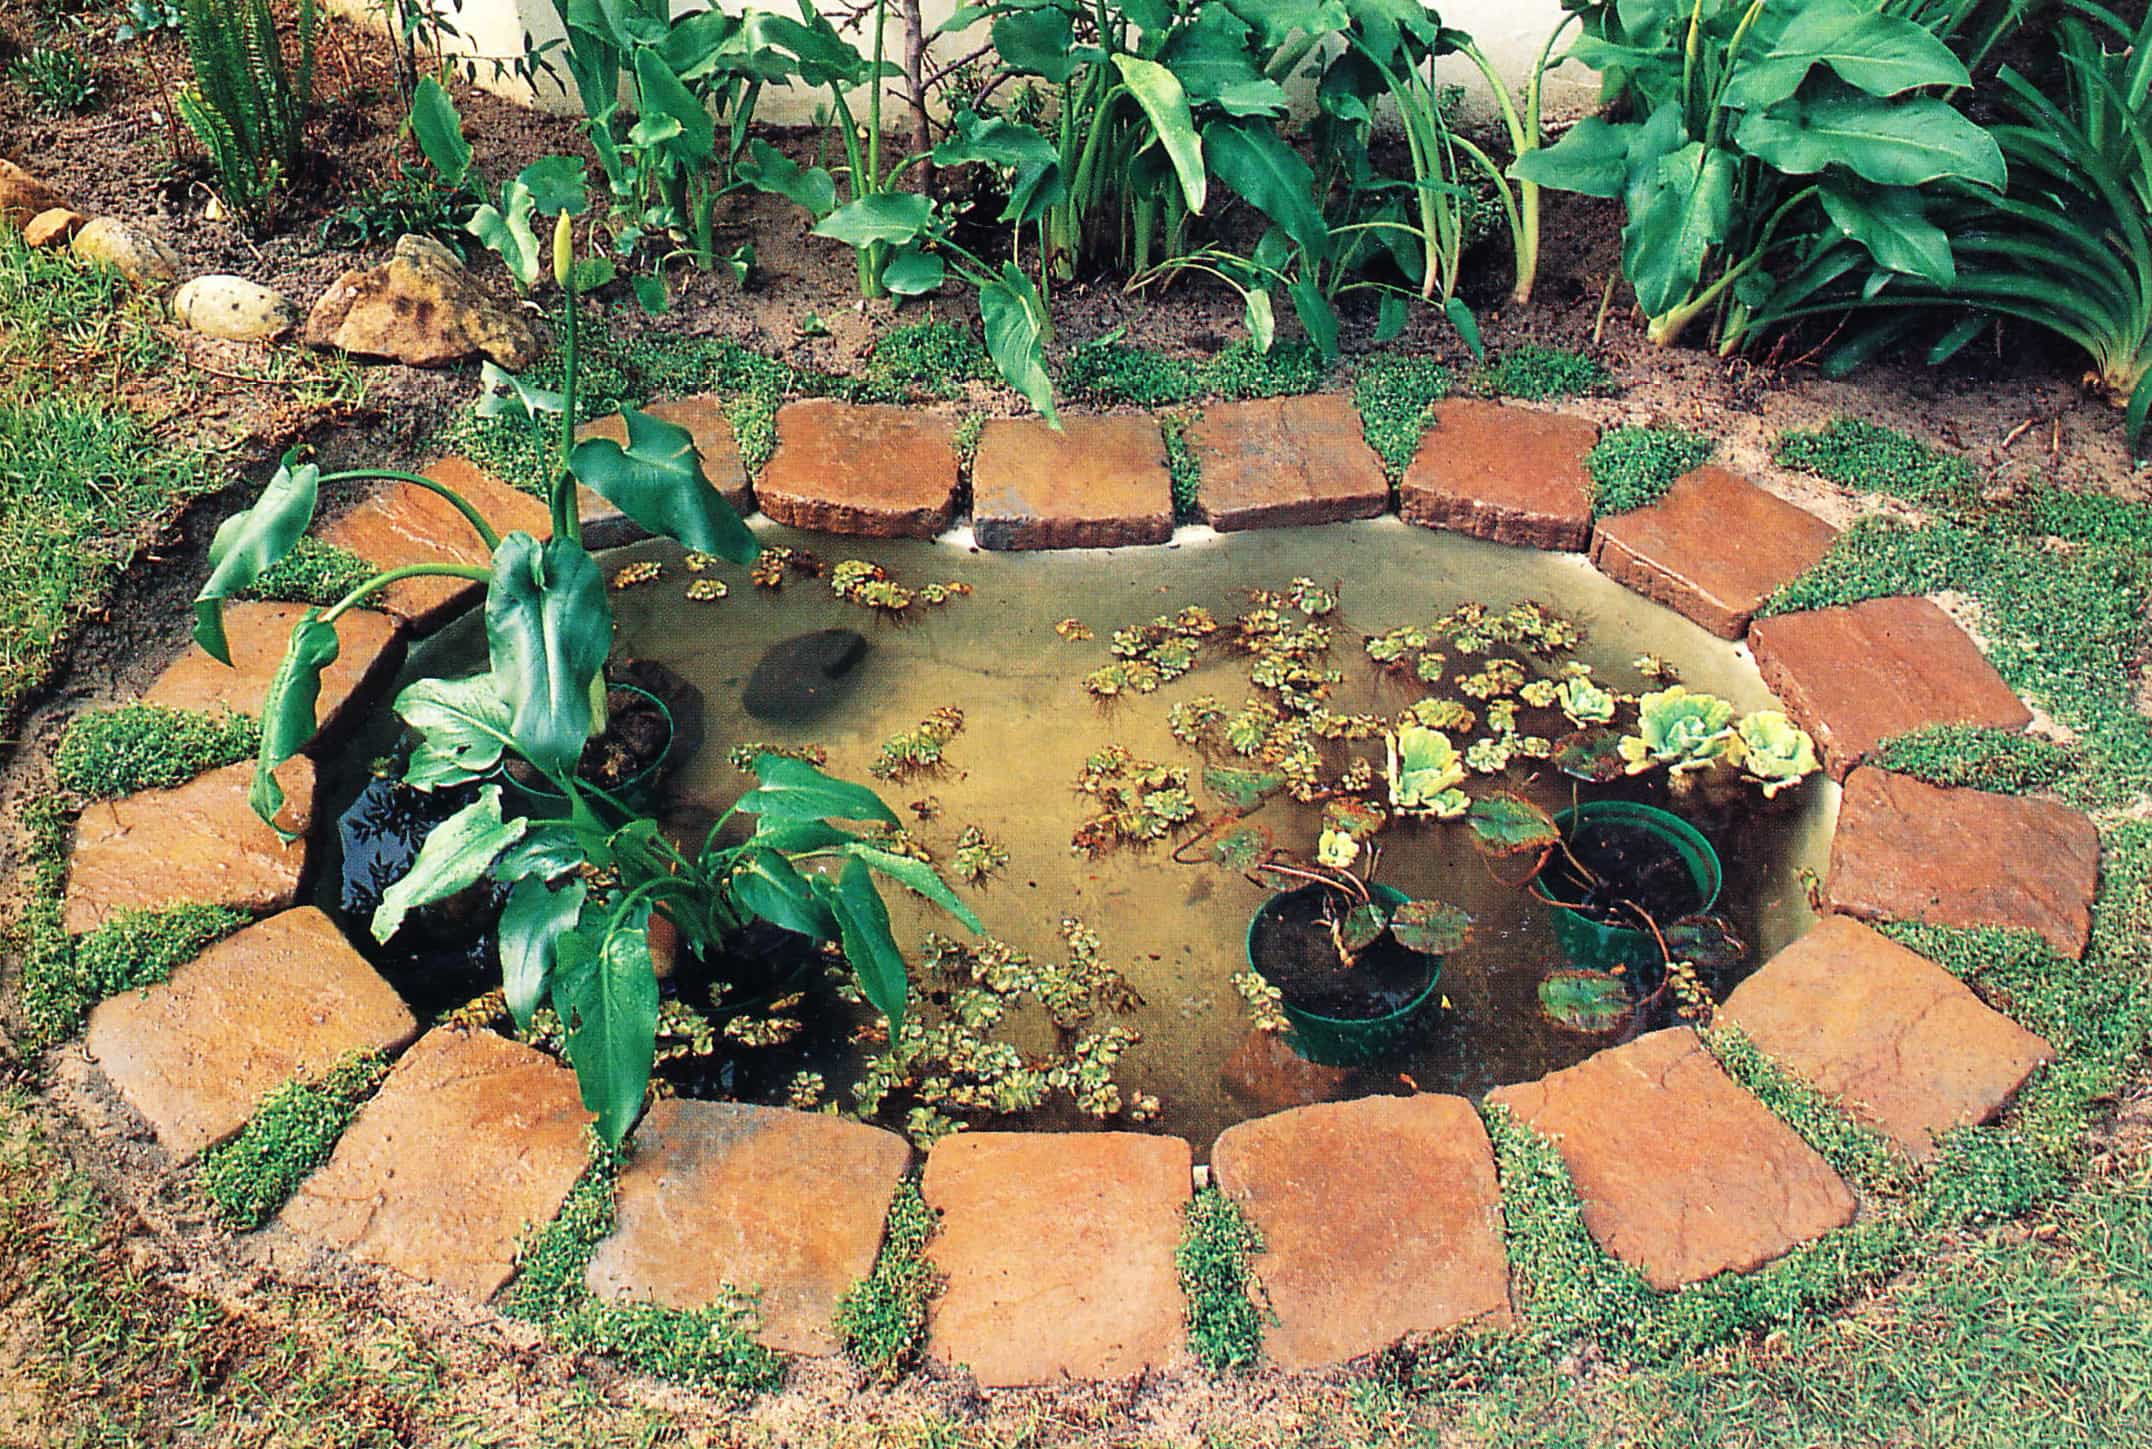
Here I show you how to install a preformed pond in 11 easy steps just to prove that this is an easy project. I installed this in one day, easy!
This type of preformed pond is undoubtedly the simplest and most foolproof of all, as the “precast” or preformed pond shell guarantees instant results. The designs available and materials used to manufacture the preformed pond shell will differ in various areas, but the principles involved in sinking one of these ponds remain the same.
Since most are manufactured in irregular shapes, preformed pond shells are commonly used to create informal ponds. The secret of making them appear natural is to disguise obviously man-made finishes, and to hide the edges.
The precast fiber cement pond featured here has a kidney shape and is approximately 270 mm (10 ½ in) deep, with a flat, level base. The reconstituted stone paving slabs, which look less contrived than most other materials, cover an area of 1.2 m² (13 sq ft).
Here are a few searches for this page:
• How to install a preformed pond above ground
• How to edge a preformed pond
• How to dig a hole for a preformed pond
• Preformed pond kits
• How to build a raised pond using preformed line
• Installing a preformed garden pond
• Can a preformed pond be used above ground
Materials
For a 1.1 m x 1.8 m (3 ft 7 in x 6 ft) pond:
1.75 m² (18¾ sq ft) kidney-shaped precast shell
18-20 x 250 mm x 250 mm (10 in x 10 in) paving slabs
50 kg (100 lb) sand
50 kg (100 lb) sand (optional)
Here are a few items that will help you with this project
Click the links below
Preformed ponds
Chalk powder (calcium carbonate)
Digging spade
Contractors level
Preparation
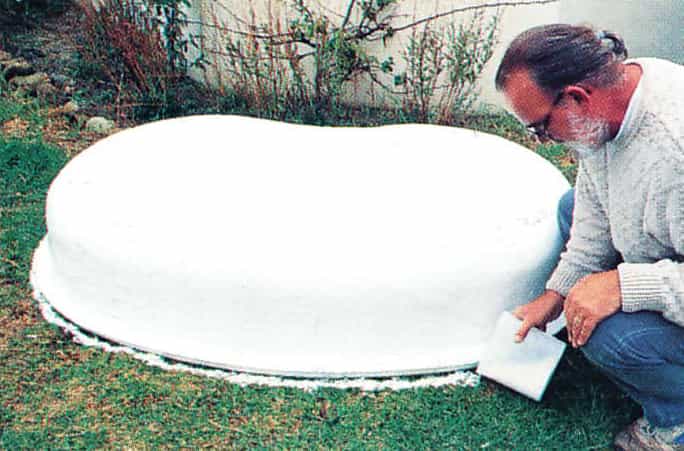
Step 1 – Decide Where
Decide where you want to sink the pond and place the shell upside down on the spot. This will enable you to incorporate the lip when you mark the outline of the shell with chalk, lime or flour. A word of warning, however: if the precast pond you are installing has an irregular shape, you will have to set it right-side up or you will end up with a mirror-image and the shell will not fit.
Excavation
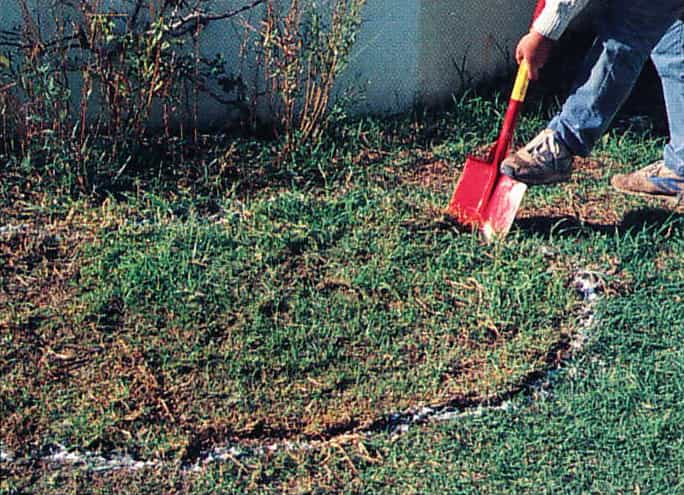
Step 2 – Dig Out Dirt
Put the shell aside and dig out the soil to the full depth of the pond plus the thickness of the proposed surround; in this case 310 mm (1 ft). It will be easier to place the shell in position if you make the hole just a llttle wider than you have marked. If there is a shallow end, excavate that section first and then dig out the soil, gradually working towards the deeper end.
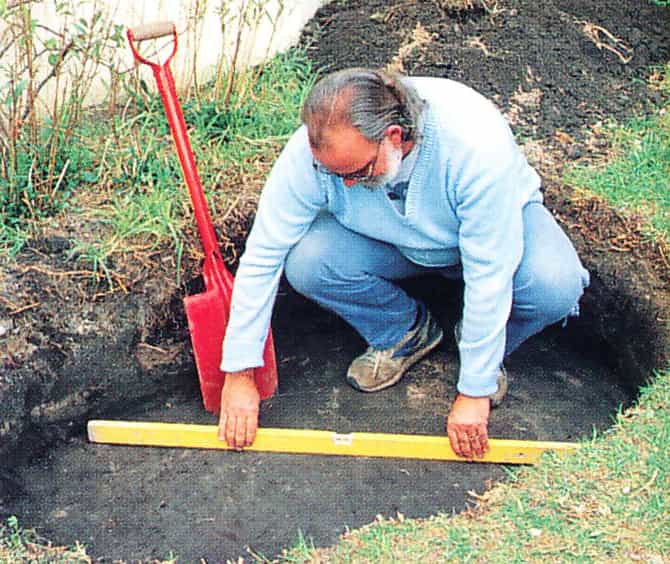
Step 3 – Level Base
When excavation is complete, make sure that the base of the hole is absolutely level and that there are no stones or undulations which will prevent the shell from sitting firmly on the ground. If the earth is very stony, you can lay a shallow bed of sand (about 20 mm (¾ in) is more than adequate) over the top to cushion the weight of the pond. If this is necessary, you will have to excavate slightly deeper to accommodate the sand.
Placing the pond
Step 4 – Put Shell Into Hole
Place the shell in the hole and use a spirit level to check that it is straight and properly aligned. You may need to remove the shell and add or scrape a little soil away to make it even.
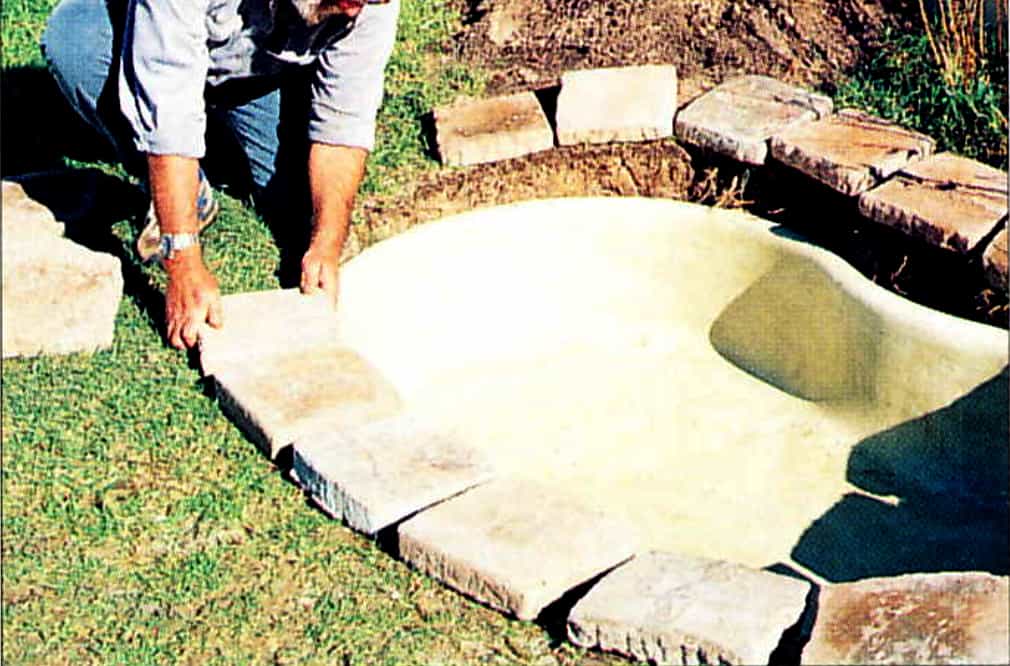
Step 5 – Place Slabs
The surround will sit on the lip of the pond, which should now be a little below the original ground level. Place the slabs around the pond and mark their approximate position. Remove grass and soil to a depth of about 65 mm (2½ in) to accommodate the slabs.
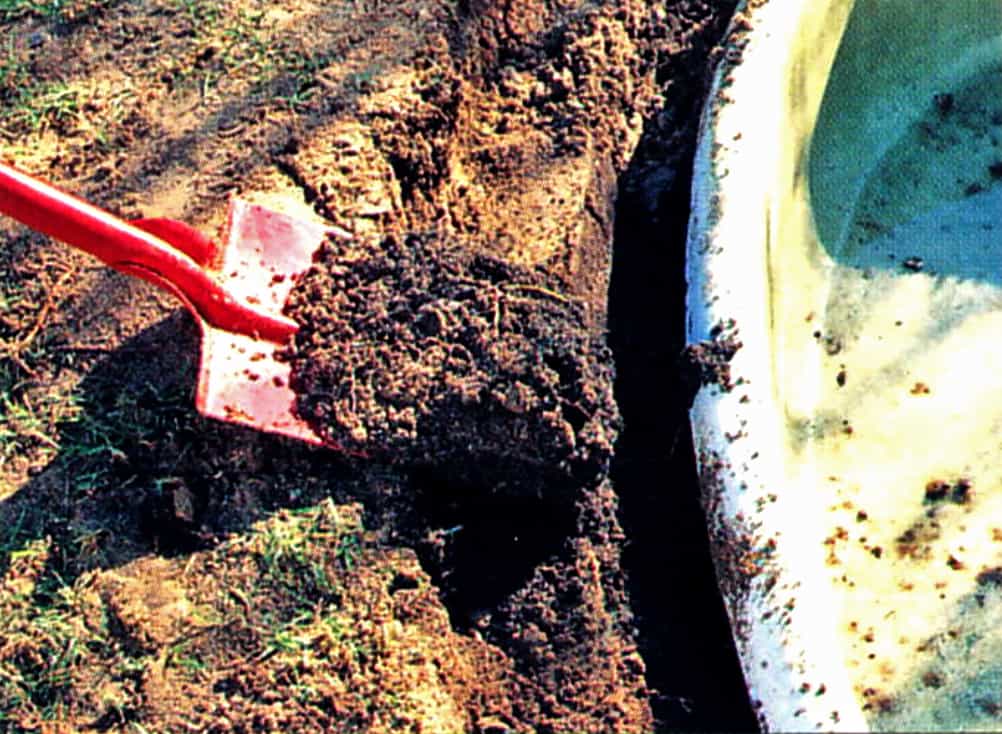
Step 6 – Backfill
Use some of the excavated soil to backfill the gap between the sides of the shell and the hole. Compact this area and the newly dug section around the perimeter of the pond lf the pond has molded shelves for plants, take care to backfill under these areas properly. Do not worry if the interior of the pond is soiled, this is one occasion when you do not want it to look pristine.
Paving the surround
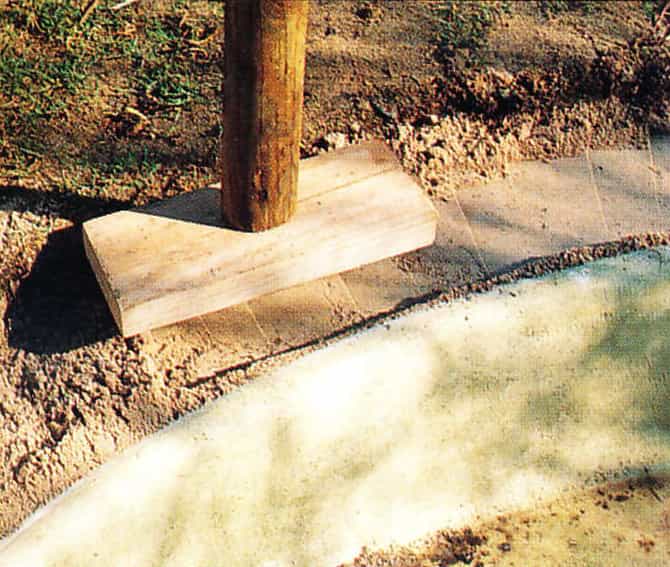
Step 7 – Put Clean Sand Around Edge
Deposit a layer of clean building or river sand around the excavated and compacted edge of the pond. This should be approximately 25 mm (1in) thick once it has been compacted.
Step 8 – Smooth Sand
Smooth the sand with a straight-edged piece of wood. For drainage it is prudent to allow the top of the paved surface to slope very slightly away from the edge of the pond.
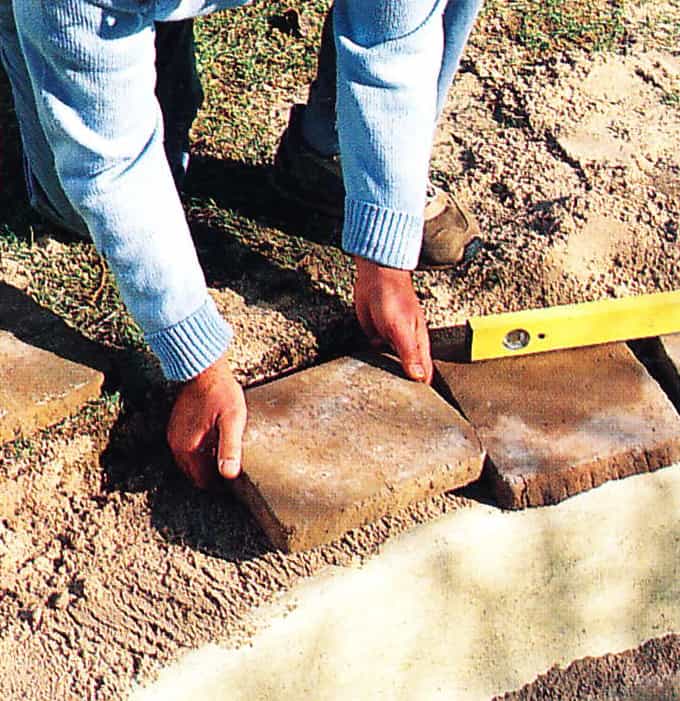
Step 9 – Lay Slabs
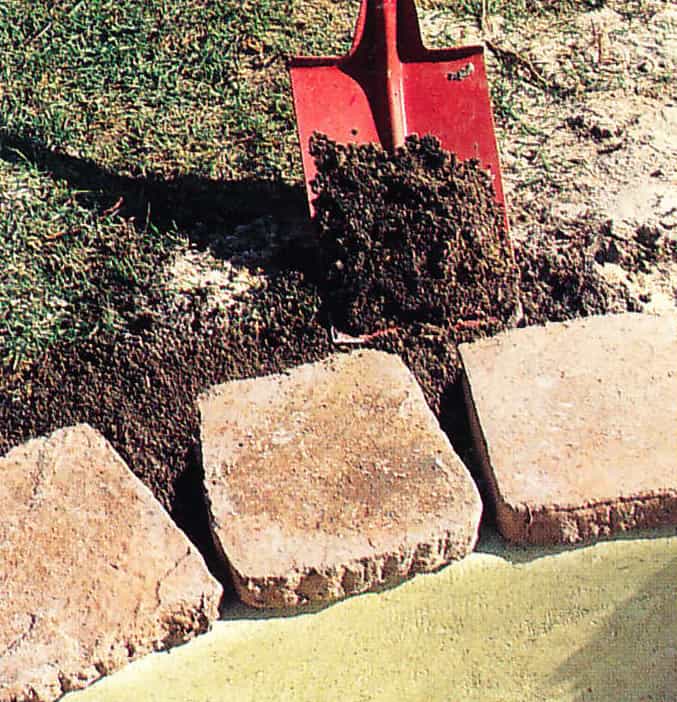
Lay the paving slabs on the sand without mortar. Press them firmly into place and make use of a spirit level to check that the surface of the edging as a whole is flat.
Step 10 – Fill Gaps
Fill all gaps between the slabs with soil and plant with a ground cover which will thrive in moist conditions. Pebbles pushed between the slabs can also look attractive.
Finishing Off
Step 11 – Fill With Clean Water
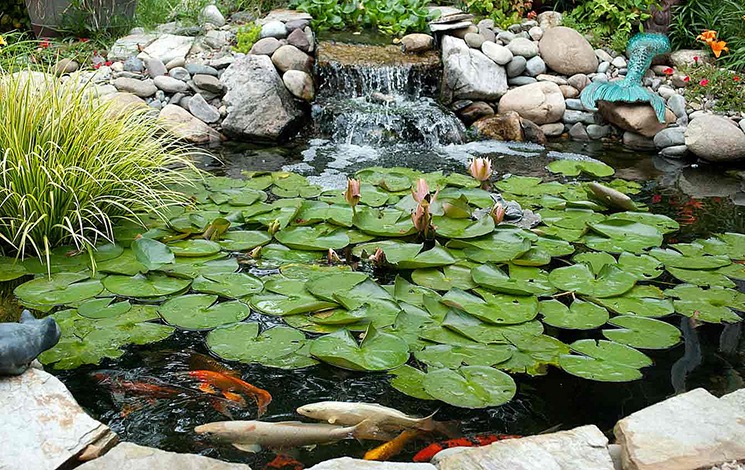
Make sure the interior of the pond is clean before filling it with water and stocking with a selection of water lilies, aquatic plants and fish.




2 Comments