Flowing Clay Pot Installed in 10 Steps
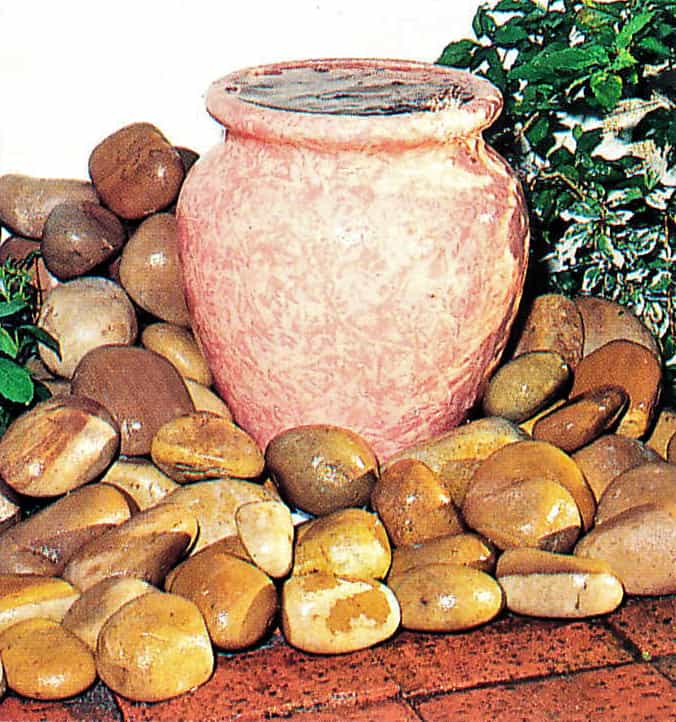
Flowing Clay Pot Water Feature
You can take an ordinary clay pot, manufactured for pot plants, and make an attractive flowing clay pot water feature in a compact border bed. It takes up little space and introduces the sight and sound of trickling water. Although you can use various containers, a shaped vessel is preferable. You will need to provide or construct a reservoir of water which is hidden beneath the lower pot.
It is essential that this is designed to accommodate the necessary pipework which will enable the water to flow back under the container. Note that the diameters given for this project relate to the upper openings of containers.
Materials
clay pot approximately 250 mm (’10 in) in diameter,430 mm (1 ft 5in) high container approximately 560 mm (1 ft 10 in) in diameter, 310 mm (1 ft) high
plastic pot, 200 mm (8 in) in diameter, 180 mm (7 in) high
1 x 600 mm x 12 mm (2 ft x ½in) semi-rigid tubing
1 x submersible pump, with 1.4 m (4 ft 6 in) water head
river stones
Preparation
Step 1.
The first step is to ensure that any precast container you plan to use as the reservoir is absolutely waterproof. If necessary plug up any holes and seal the interior surface. The reservoir here is a planter sold for small cacti displays. Made from fiber cement, it is manufactured with a hole in the base for drainage. It is an ideal shape for this flowing clay pot feature, as the upper diameter is considerably wider than the base which, in turn, is the same size as the plastic pot. It is also quite simple to fill any drainage hole with a two-part epoxy putty.
Step 2.
When you have decided where to site your flowing clay pot feature, place the waterproof container upside down and mark its upper diameter with flour or chalk.
Step 3.
Dig a 310 mm (1 ft) deep hole. If you are using a similar shaped container, try to slope the walls to avoid unnecessary excavation.
lnstallation
Step 4.
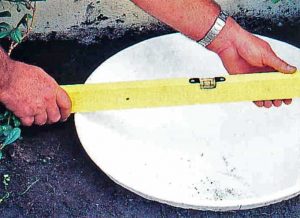
Place the container in the hole you have dug and use a spirit level to check that it is level. Fill gaps with soil and compact.
Step 5.
Cut a hole in the bottom of your plastic plant pot to accommodate the pipework. Put the pump on the base of the waterproof container and place the pot upside down over it.
Step 6.
The pot used must also be waterproof, except for the hole you need for the pipework. Seal any other holes with epoxy putty and allow to dry thoroughly. Paint your flowing pot container if you wish. This one has a rag-rolled finish in shades of terracotta.
Step 7.
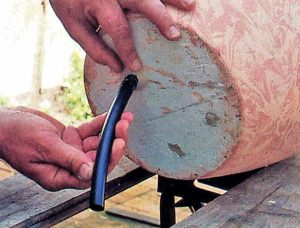
You will need to drill a hole in the bottom of the pot with a 16mm(5/8 in) diameter to accommodate tubing with a 12 mm (½ in) bore. Push the tubing through the hole so it extends almost to the top of the pot. Use two-part epoxy putty to keep it in place and seal around the tube.
Step 8.
Position the flowing urn on the plastic pot so that the tubing extends through it, and join the tubing to the pump connection. Make sure that both pots are level.
Finishing off
Step 9.
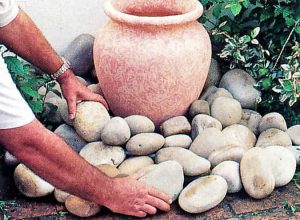
Fill the bottom container with water and place river stones around the feature to disguise the arrangement below. Note that some of the rocks will inevitably be positioned in the reservoir.
Step 10.
You can now fill the pot with water, connect the power and switch it on to start your water unique flowing clay pot water feature.


One Comment