Build Yourself A Simple Wooden Bridge In 11 Easy Steps
Build Yourself A Simple Wooden Bridge The Easy Way
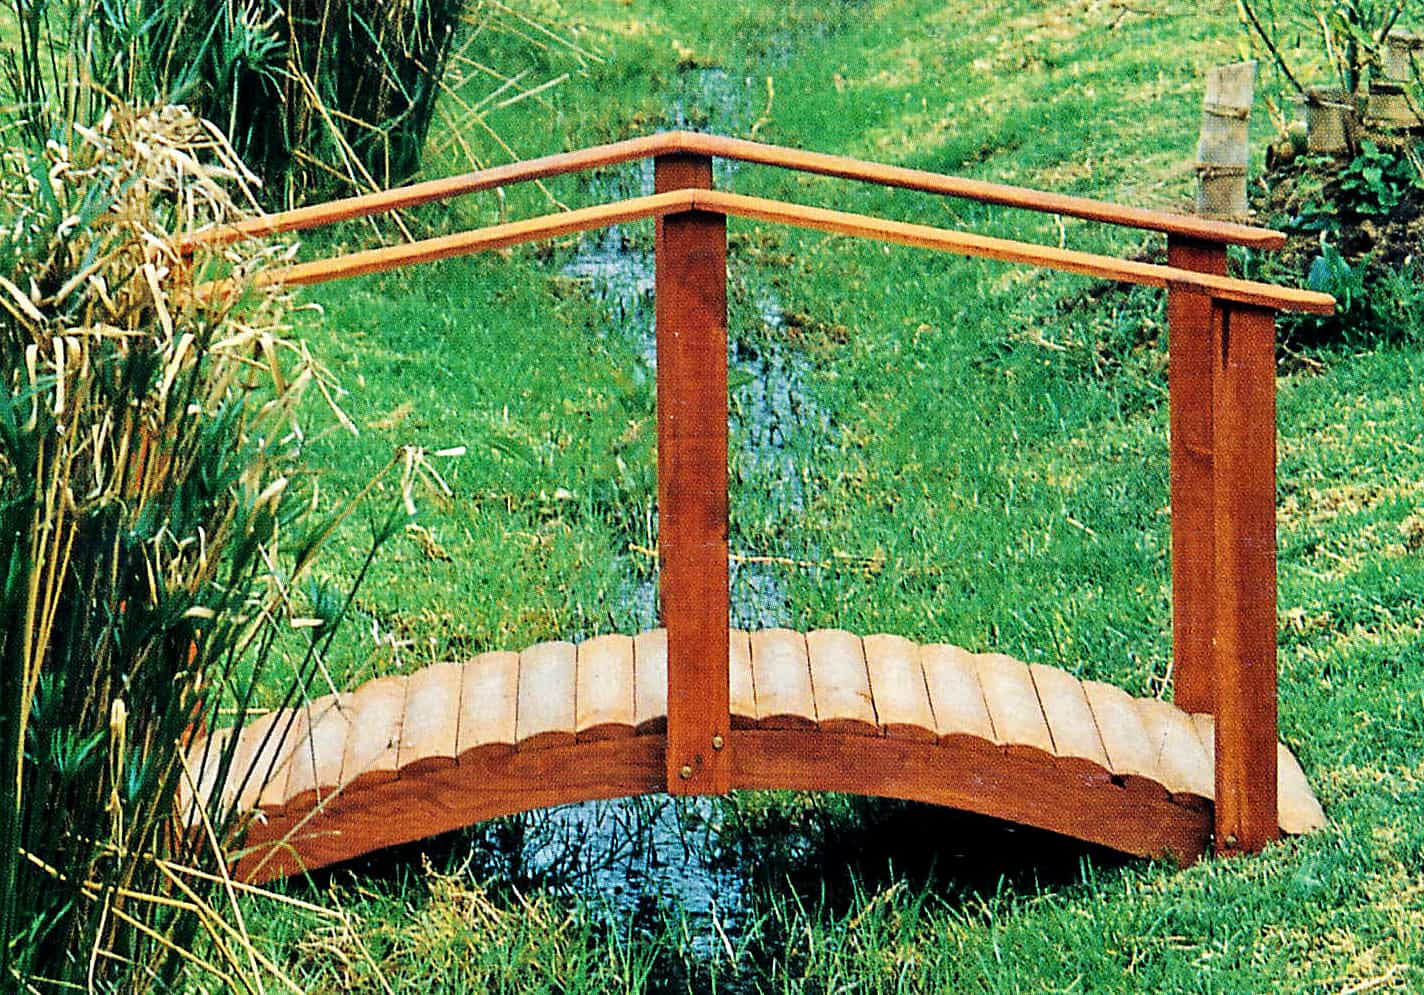
A simple wooden bridge can be both practical and attractive, adding to the appeal of most water gardens. This design incorporates straightforward handrails and a slightly arched walkway. A properly treated softwood bridge, like this one, will give you many years of pleasure, although a hardwood will be more resistant to rot and weathering.
The walkway of the structure featured here was made from inexpensive pine split poles planed to form planks which are slightly rounded on one side. Since these are not standard in all saw mills, the materials list specifies ordinary planed planks of the same size. All the timber used should be planed all round (PAR) and treated; you may need to adapt timber dimensions slightly, depending on what is available in your area.

You Might Not Want To Wait To Get This Wooden Bridge Done the DIY Way So Here Is The Best Option For You
[ninja_tables id=”1940″]
1 – Materials
1 x 3 m x 150 mm x 50 mm (10 ft x 6 in x 2 in) length timber for bearers
6 x 900 mm x 76 mm x 38 mm (3 ft x 3 in x 1½ in) for uprights
22 x 5OO mm x 70 mm x 22 mm (2 ft x 2¾ in x ¾ in) walkway planks
4 x 900 mm x 75 mm x 25mm (3 ft x 3 in x 1 in) handrails
6 x 70 mm (2¾ in) wire nails
12 x 70 mm x 6 mm (2¾ in x ¼ in) galvanized coach screws
16 x 50 mm x 4 mm (2 in x X ⅛ in) cross-head screws
88 x 40 mm (1½ in) ring shank nails or self-tapping screws
2 – Preparation
Step 1 – Cut all the required timber
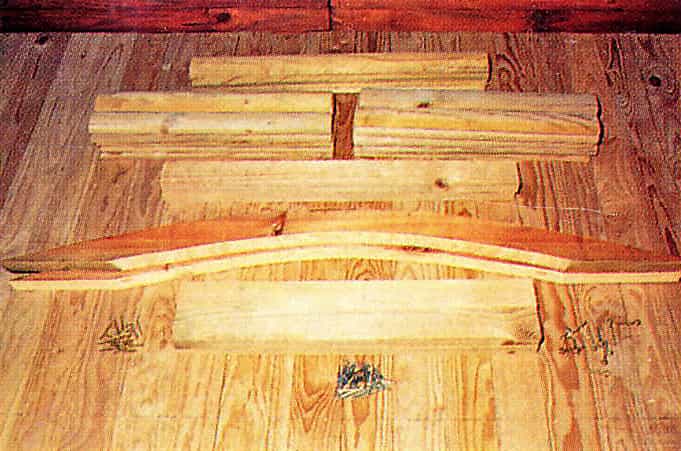
The first step in making your wooden bridge is to cut all the required timber to size and make sure you have sufficient screws and nails for the project. Also assemble your tools.
Step 2 – Make The Curves
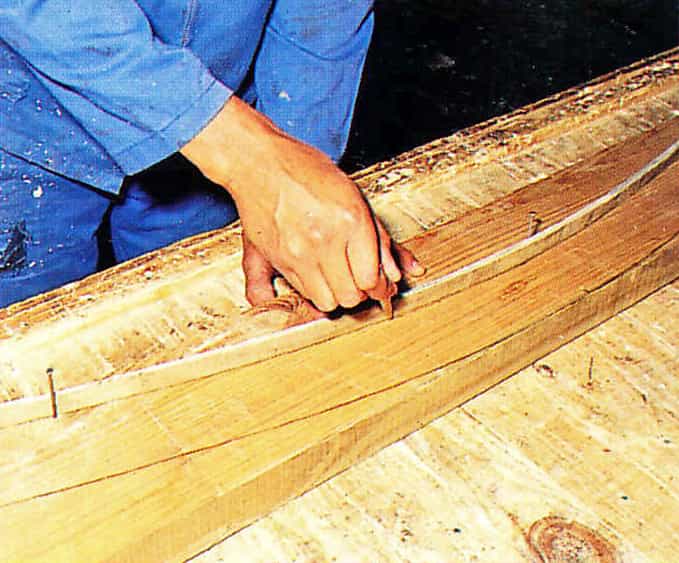
While most of the lengths are straight-forward to cut, the two bearers, which are sawn from a 3 m (10 ft) long piece of wood, must be curved, and this is a little more complicated. Mark out the first bearer for your wooden bridge by knocking two nails partially into the wood 1.5 m (5 ft) apart, slightly in from one end and from the bottom edge to facilitate cutting. Now measure the central point between them and knock in a third nail, just in from the opposite edge. Then bend a thin strip of pliable wood between the nails to enable you to draw a curve with ease. Draw a second curved line 75 mm (3 in) below this, making sure the width of the bearer is even. You can use additional nails to support the strip of wood if you wish.
Step 3 – Jigsaw
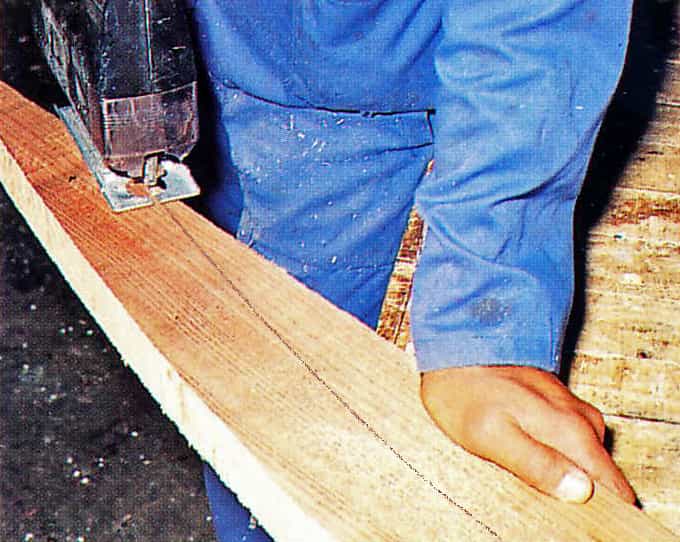
Using a jigsaw, cut along the lines you have drawn. Do not cut the length of wood in half as you will need the overlap in the center.
Step 4 – Mark Your Cutting Line
Now use the first bearer as a template for the second bearer, drawing around it to mark your cutting line.
Construction
Step 5 – Nail The Timber
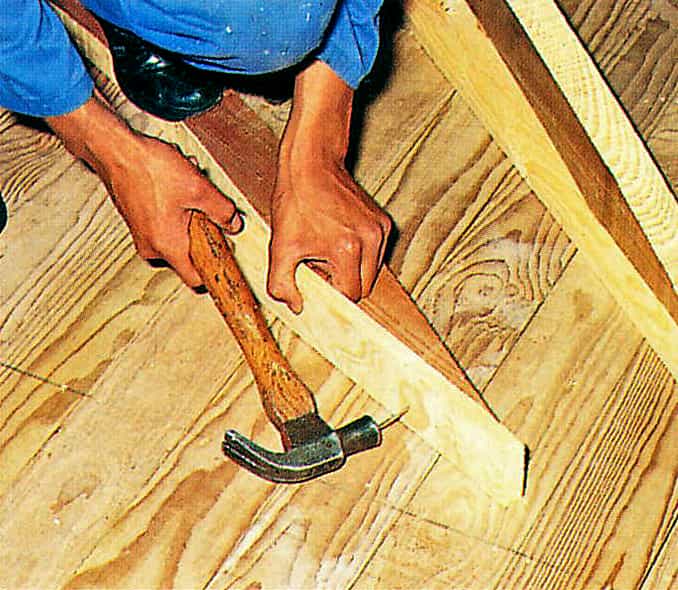
Nail two straight lengths of timber to the underside of each bearer. These will act as temporary supports and will be removed once the structure is complete. Note that neither these lengths of wood, nor the nails, are included in the list of materials. Use ordinary wire nails and any suitable scraps of timber.
Step 6 – Assemble Uprights
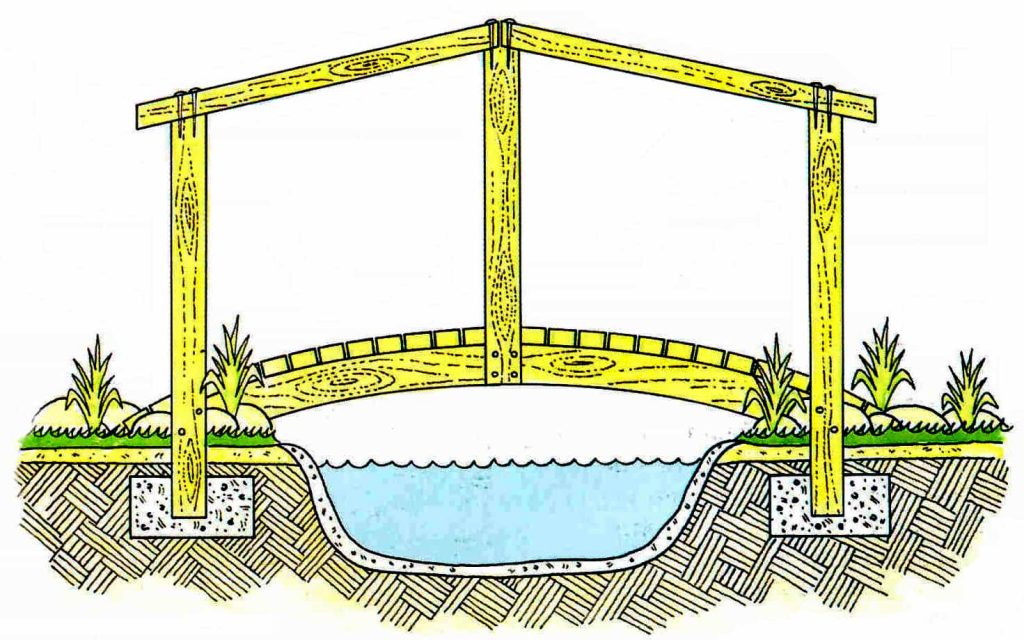
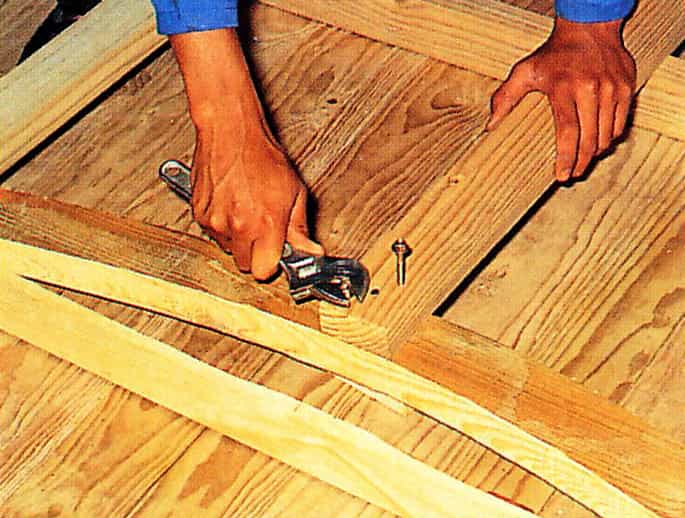
Turn one of the bearers on its side and position three of the uprights as indicated, with 150 mm (4 in) of each outer one extending below the bearers. These extensions can be set into the ground later for added stability. The bottom of the central upright timber should be flush with the lower edge of the curved bearer. Make sure all three lengths of wood are absolutely straight and parallel with one another, before knocking in wire nails to hold them in place. Check again that they are vertical, and then secure with two coach screws at the base of each upright. It helps to use a batten under the uprights to support them while you are working; this piece of wood does not, however, form part of the structure.
Step 7 – Repeat Step6
Repeat the procedure described in step 6, using the second bearer and all of the remaining uprights.
Step 8 – Nail Planks To Uprights
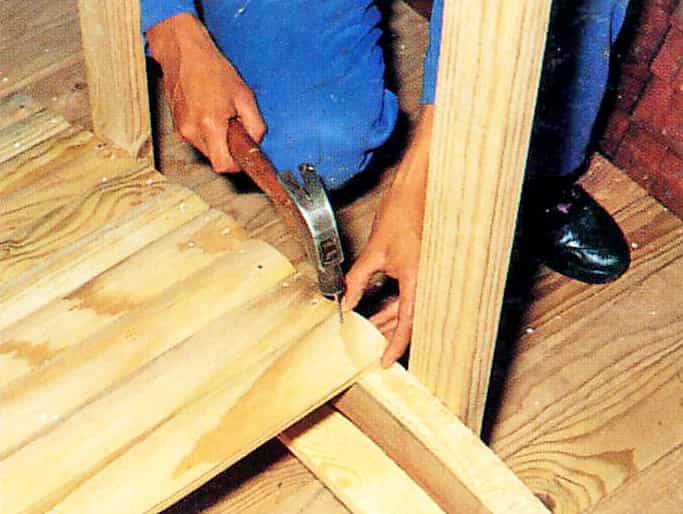
With the temporary slats still nailed to them, position the two bearers upright on a flat surface 600 mm (2 ft) apart. Nail the planks to the upper surface of the bearers with ring shank nails; or use self-tapping screws (which are also hammered in).
Step 9 – Trim Uprights
Measure the six upright posts and trim them to the desired height with a jigsaw. You will achieve a good balance if the center lengths are 700 mm (2 ft 4 in), and the outer ones about 830 mm (2 ft 9 in) at their longest point which includes the 150 mm (4 in) extensions. Then trim the upper ends of the uprights at a slight angle (see illustration) with a jigsaw or tenon saw, so that the handrails will fit snugly.
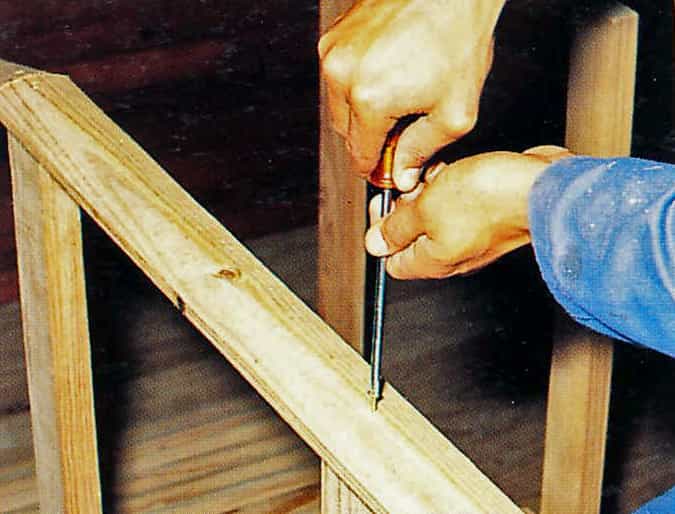
Step 10 – Secure Handrails
Using the 16 Phillips head screws and an appropriate screwdriver, secure the handrail to the upright posts. Take care to ensure that the upright timbers remain completely straight.
Finishing
Step 11 – Sand and Seal
Sand rough edges, rounding the ends of the handrails if you wish, and remove the temporary slats. Finally, apply a sealer following the manufacturer’s instructions.






One Comment