3 Bowl Water Fountain in 16 Steps
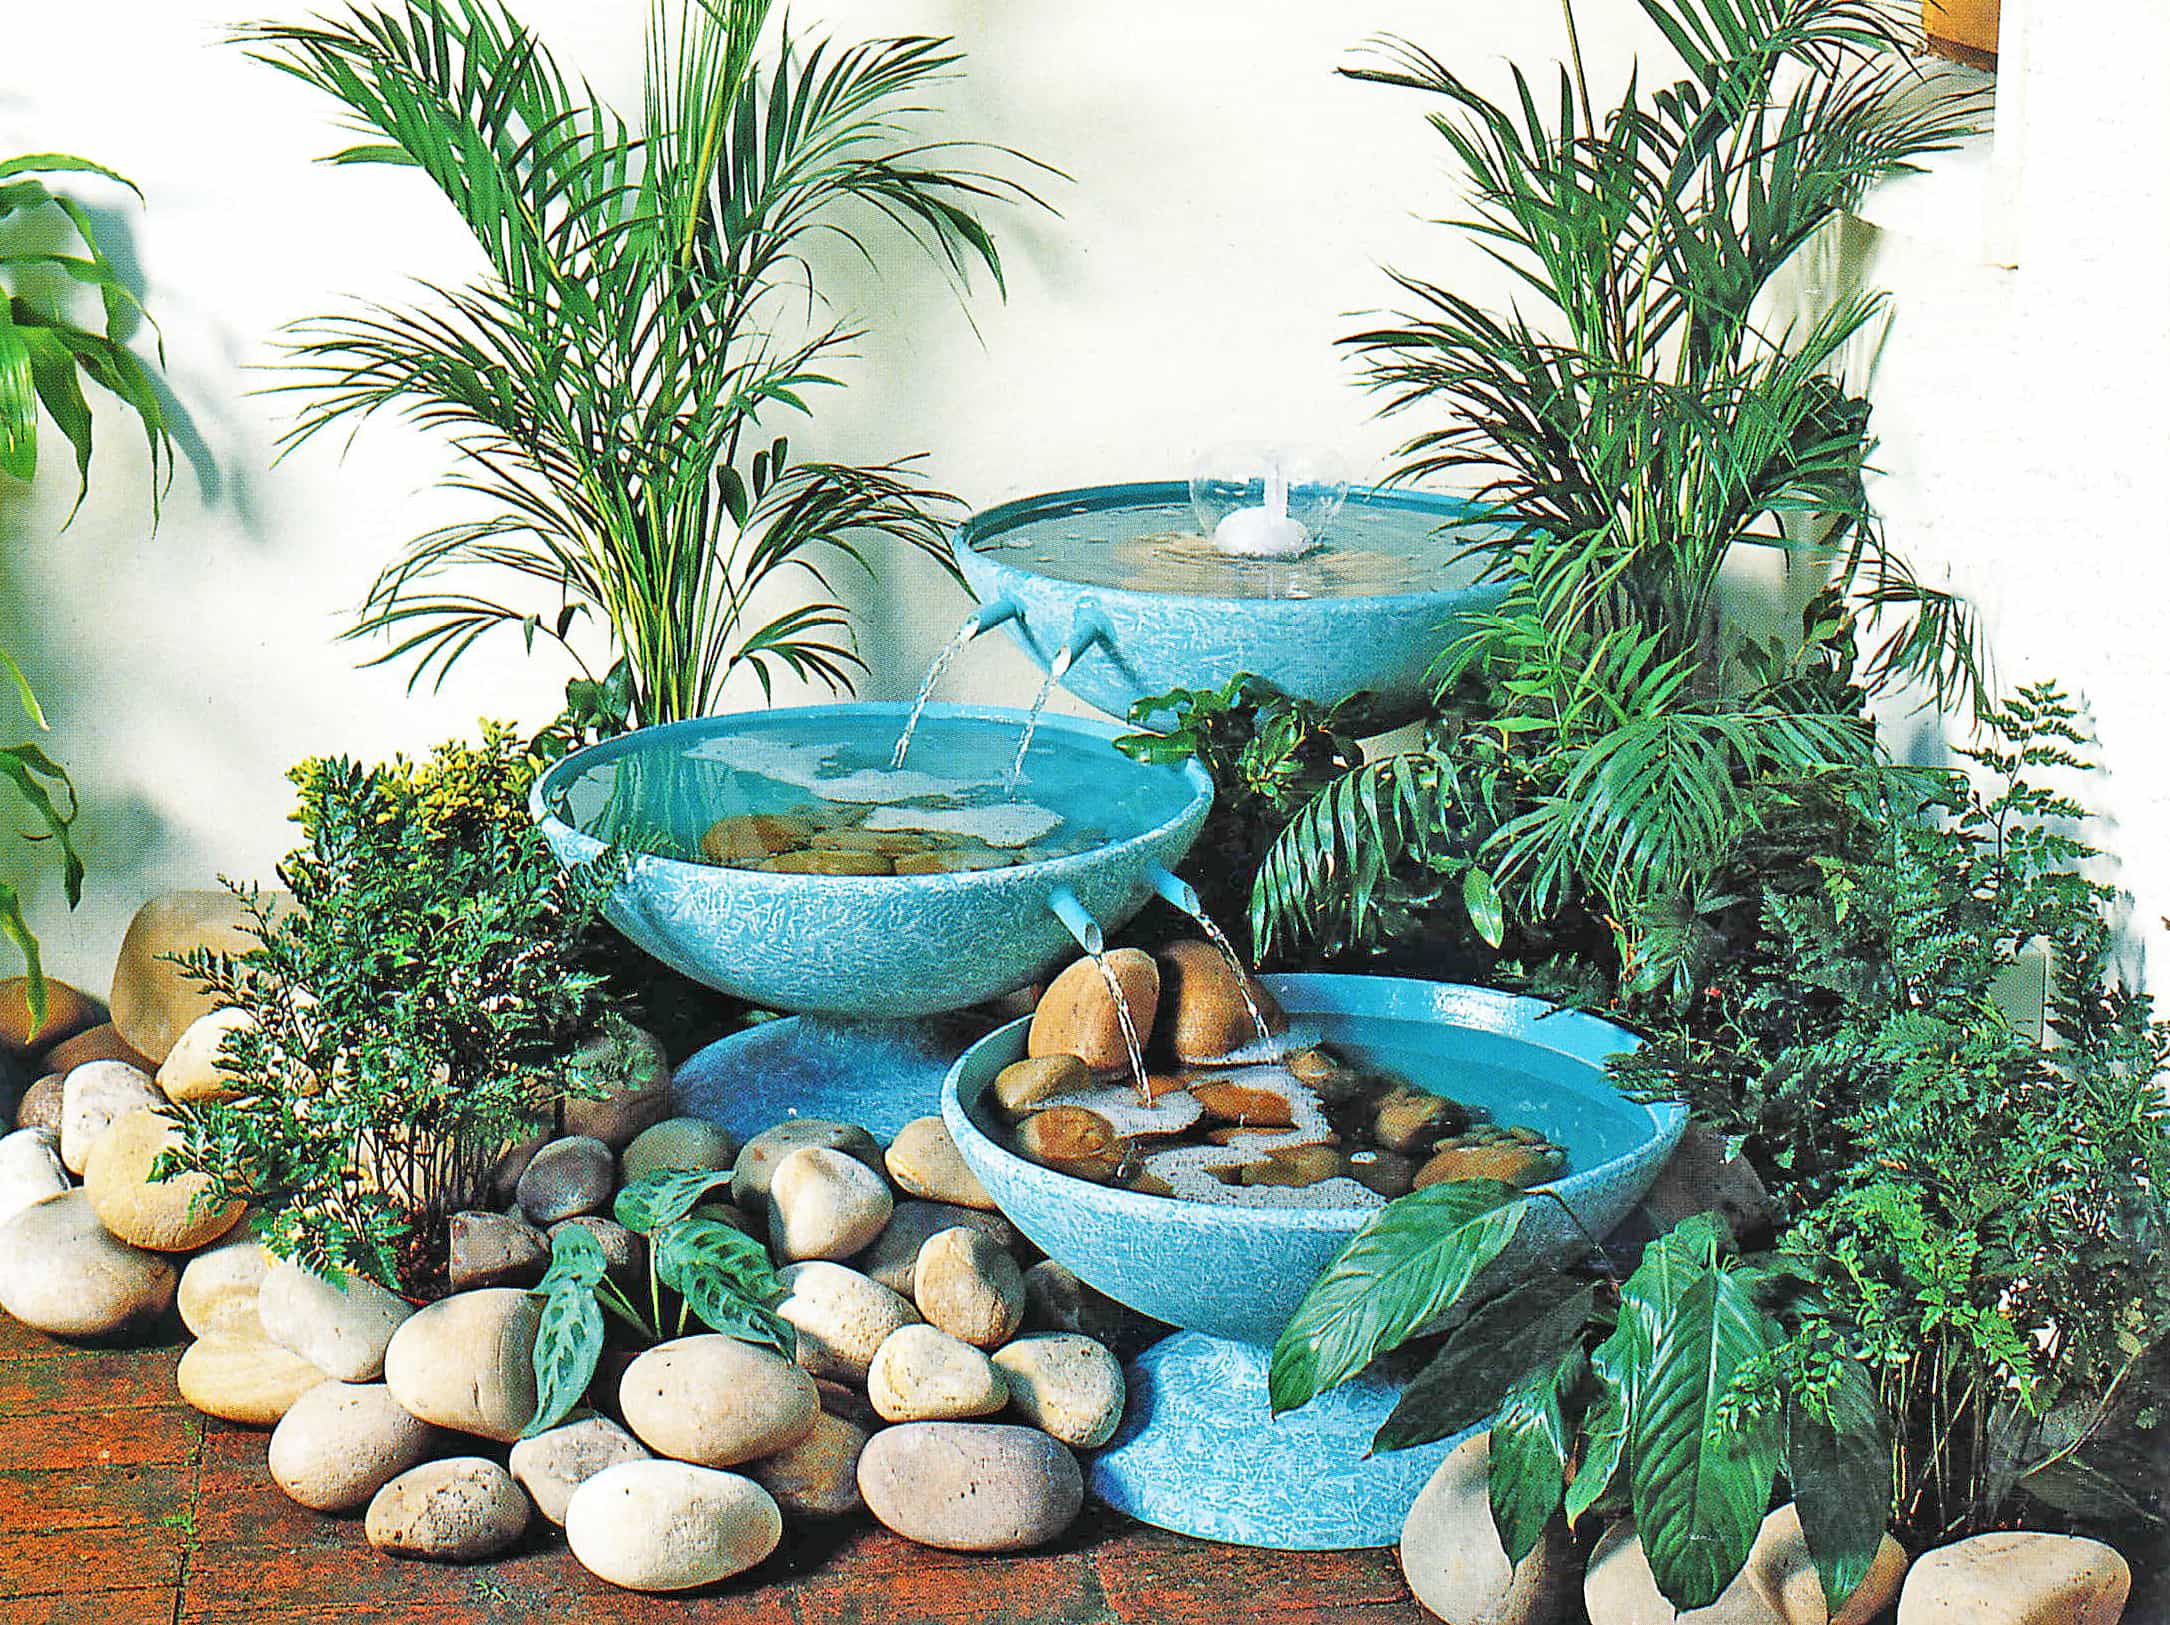
Make A Simple And Attractive 3 Bowl Water Fountain in 16 Easy Steps Below
Unusual water fountain arrangements for small patios and courtyards are not always available ready-made. However, with a little imagination you can create something quite special using pots, bowls or even wooden tubs, provided they are watertight.
This Unusual & attractive 3 bowl water fountain project does not require any building skills and can be completed in a few hours. The three precast, fiber cement bowls used here were manufactured as pot plant containers and so drainage holes in the base had to be sealed before the fountain could be assembled. Refer to “Building Basics” for more information on the range of waterproofing solutions.
Materials
3 suitable containers approximately 600 mm (2 ft) in diameter, 300 mm (1 ft) high.
34-36 bricks
1 x 100 mm x 12 mm (4 in x ½ in) semi-rigid tubing
1 x 1.5m x 10mm (5ft x 3/8 in) flexible tubing
4x 100 mm x 16 mm (4 in x 5/8 in) rigid PVC pipe
1 x submersible pump, with 1.4 m (ft 6 in) water head fountain head
outdoor cable and conduit
river rocks and stones (optional)
Preparation
Step 1 – Check Electrics
Establish where the power point is to be located and ensure a suitable electrical connection is available.
Step 2 – Epoxy Holes
Use a two-part epoxy putty to seal any drainage holes in two of the containers. The third bowl should have a central aperture through which you can insert tubing to attach the fountain head. If necessary, drill a hole of about 16 mm (5/8 in) in the base of one of the bowls.
Step 3 – Paint When Dry
If you plan to paint the bowls, you can do so once the putty is totally dry.
Step 4 – Drill Holes
Using the appropriate masonry bit, drill two holes 100 mm (4 in) apart, about 35 mm (1¼ in) below the rim in the bowl with the central aperture, and in one of the sealed bowls. These measurements relate to the distance between the centers of the holes. They must be absolutely level with one another to ensure that the water flows through them evenly. To accommodate PVC pipe with a 16 mm (5/8 in) bore, you will need to drill holes approximately 20 mm (¾ in) in diameter.
Step 5 – Trim Spouts
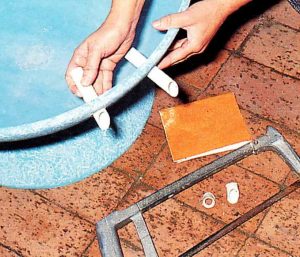
Use a hack-saw to trim the end of each piece of pipe so that it forms a diagonal spout. Sand the rough edges and insert the pipe into the four holes.
Step 6 – Epoxy Glue Spouts
Use two-part epoxy putty to secure each piece of pipe at a very slight angle. Again, each pair must be fitted in exactly the same way or the flow of water is likely to be uneven.
Step 7 – Insert Tubing
Insert the semi-rigid tubing into the central aperture of the first water fountain bowl and secure with putty.
Maybe this looks like hard work but you think a fountain on your patio will look great then look at these below.
[ninja_tables id=”1988″]
Installation
Step 8 – Build Plinths (Bowl Base)
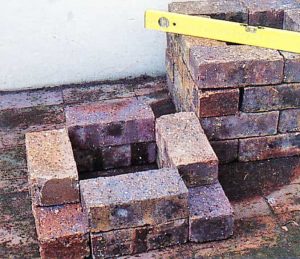
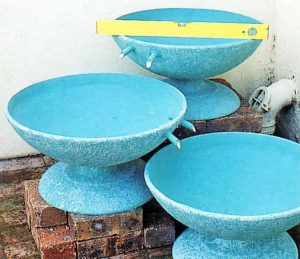
You can, of course, build plinths for the bowls with bricks and mortar, but it is quite adequate to place them on loosely stacked bricks. To create a stepped effect, the back stack should be approximately 300 mm (1 ft) high and the middle one, 150 mm (6 in). It is essential to leave a space in the center of the highest plinth, as well as a slight gap in the front of the third course for the tubing. You must also make certain that the base you provide for the containers supports them adequately. If your containers are of different dimensions, alter the size of the plinth as required or stack accordingly.
Step 9 – Make Level
Use a spirit level to ensure that each stack of bricks is even and well balanced for your water fountain to work properly.
Step 10 – Secure Tubing
Before you set the bowls in position, push the flexible tubing securely into the tube epoxied into the base of the first bowl. Place this container on the highest plinth and carefully push the tubing through the gap left in the third course of loosely laid bricks.
Step 11 – Put Bowls In Place
Set the remaining two water fountain bowls in place. Carefully position the spouts of the upper bowls so that they spill water into each lower bowl. Check levels again with a spirit level.
Step 12 – Install Pump
Put the pump in the lowest bowl, with its outlet facing upwards, and join the flexible tubing to the outlet
Step 13 – Attach Fountain Head
Attach the fountain head to the tubing in the top container.
Step 14 – Hide Cables And Tubing
As the pump, tubing and power cable leading from the pump will all be visible, you will want to camouflage them in some way. The simplest solution is to place river rocks and stones in each of the three bowls and set pot plants around the water feature.
Step 15 – Fill With Water
Fill the three containers with water up to the working levels.
Operating the fountain
Step 16 – Plug In And Switch On
For a feature placed close to the house, it is a simple matter to lead wiring from an inside plug point, through a conduit to an external plug point. Now all you need to do is plug in the pump and switch on the electricity.





One Comment